As I was scrolling through Pinterest, the perfect halloween costume hit me. If you haven’t heard of a Pinstrosity, you are truly missing out. A Pinstrosity is when you see something on pinterest, have amazing plans for an amazingly awesome project that you picture turning out stunningly, and then everything goes wrong, and you end up with an unrecognizable mess. I wasn’t quite sure where I wanted to go with my costume, but I knew it needed to capture the essence and spirit of a pinstrosity, and I was also going for the effect of a glitter bomb going off all over the costume. For those who want to use this idea, I would suggest only using what I did as inspiration. This costume has the potential for so much creativity and really capture the personality of maker/wearer. Its also a great way to use a bunch of random scraps that might be laying around. When making this, you should avoid being held back by a ‘vision’ and really just let the creativity fly.
Materials, etc.
The first thing I did was figure out materials. I figured a large portion of what I would use could come from things I already had. I made the small list of a white T-shirt, glitter (and lots of it), and some caution tape. Although I didn’t find any caution tape, I did come home with a white shirt, a six pack of fabric glitter paint (on clearance!), puff balls, and some (really tacky) self-sticking plastic gems. After buying some materials, I dug up some cards and googly eyes to incorporate as well.
Glitter, and lots of it
After having some stuff to start with, I started with creating the ‘base’ shirt, which basically meant having a glitter bomb go off. Using the glitter paint in squirt bottles/tubes they came in, I squirted some blobs, spread it around with my fingers, and continue in this manner with no specific design in mind, until I had achieved what I thought was an acceptable glitter pinstorsity look. Shortly after, I decided to add some spectacularly awful fringe at the bottom.
Day Two or After the Glitter Dries
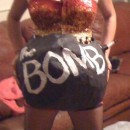
It was time to add all the ‘accents’ that really made the costume pop. Again, i had no particular image in my head when I started. I used hot glue (which works perfectly for this purpose, although be careful of the strings that form when you pull away the glue gun) to adhere everything to the shirt. I started with the gems, then added some playing cards from an already incomplete deck, and stuck on some glitter and non glitter pom poms of various sizes. I tried to follow the sort of linear pattern of the glitter, which went from the right shoulder and gradually got bigger, giving it more of an explosion effect. As a final touch, I added some crayons to resemble the latest fad on pinterest, melted crayon art. When the mess was finally perfect, I added the best part with basic black fabric paint, the words that make any pinstrosity whole. Nailed it!
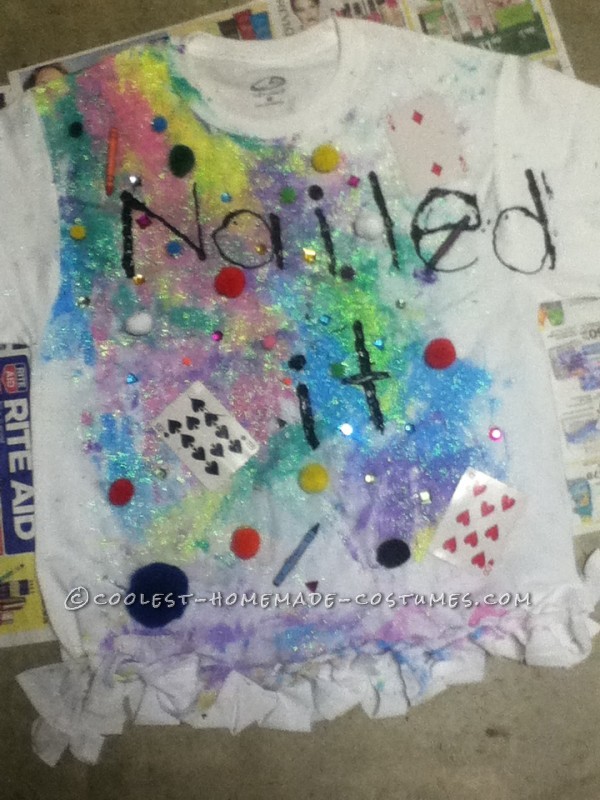
the (almost) final costume
Final Touches, And the End Product
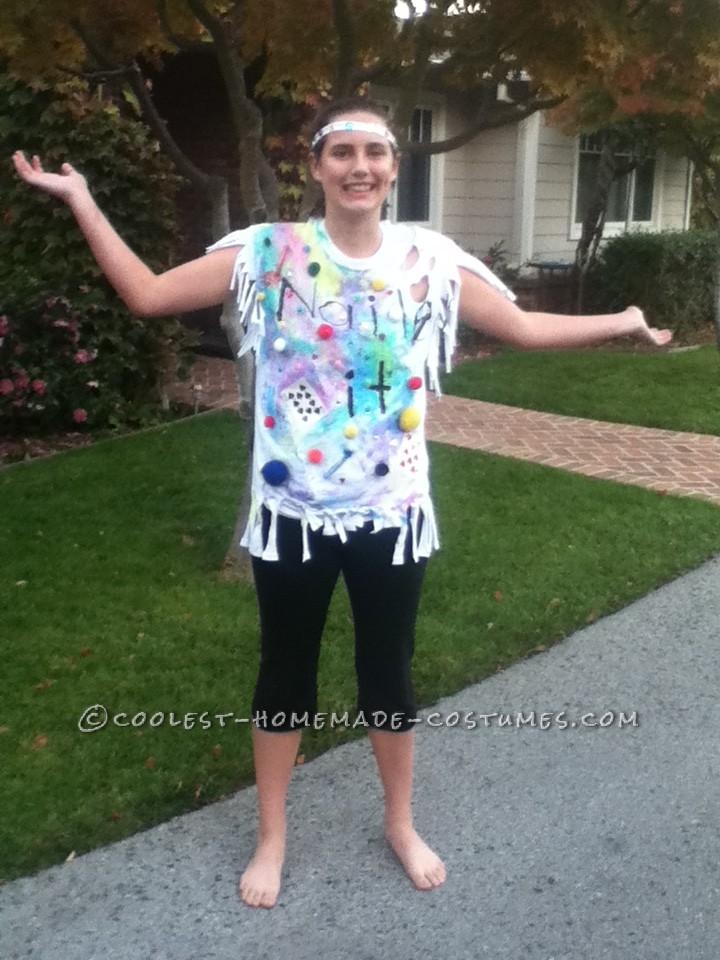
As some last touches, I fringed (is that really a verb?) the sleeves. I made one longer than the other, which added more of homemade, raggedy look. When I cut the end off of one of the sleeves, I realized how perfectly it made a headband and naturally decorated it with the extra gems. I also added some holes on one of the shoulders of the shirt, which I really liked in the end. Originally I just added them because I decided I didn’t like the card I had there at all, and the glue was being stubborn (although heating it with a hairdryer helped).All in all, I was really happy with how it turned out. I think I nailed it.
As for reactions, my dad never fully understood what it was. Most people wouldn’t get what I was at first, but once I explained the whole concept they would laugh and truly apreciate it.
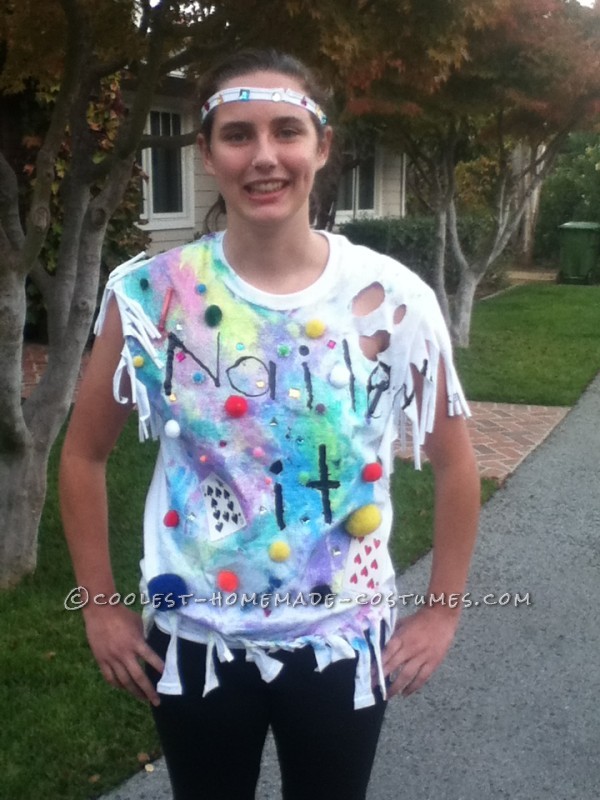
Nailed it!
Your comment has been sent successfully.