This is how I made my Rapunzel costume for Halloween 2013!
This took me a lot of time and effort to make this costume. In April I was so bored because I hadn’t been in a show for a long time and I needed a creative outlet. I decided to buy a sewing machine and try my hand at costume making. I have the basic steps I took coming up. But believe me it was a lot of hard work and a lot of trial and error. Plus I wanted the costume to be as accurate as I could so I spent a lot of time researching the costume as well as money on specific things like custom designed fabric for the corset and the center floral skirt panel.
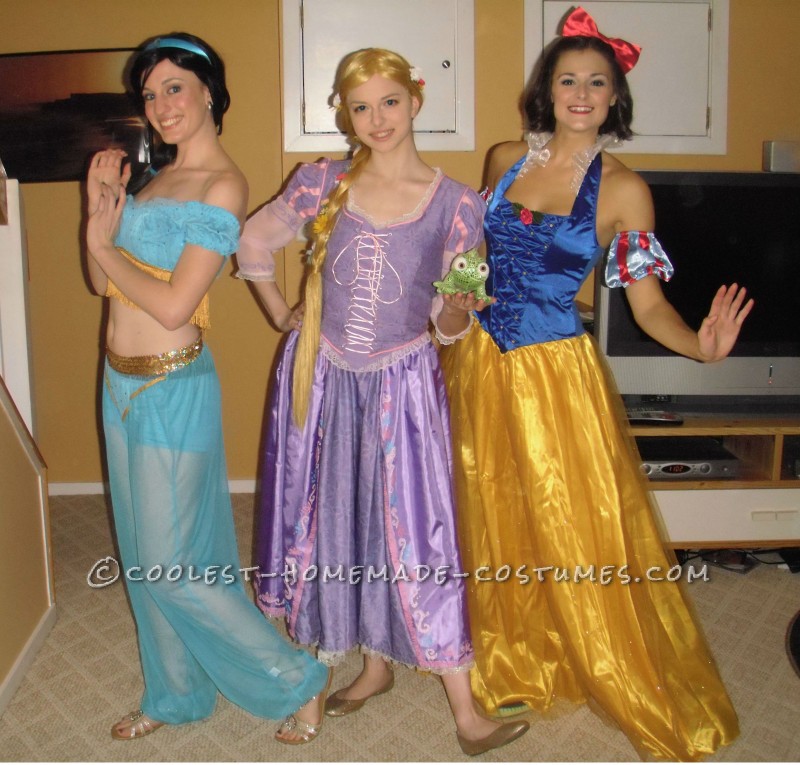
In the end it was totally worth it! My friends and I all were Disney Princesses and every where I went I got so many great compliments and people that were just shocked that I made it and that this was the first thing I ever made (as in sewing besides pillows).
Probably the best part was the kids that I handed out candy to on Trick-or-Treat night and how excited they were to see Rapunzel :)
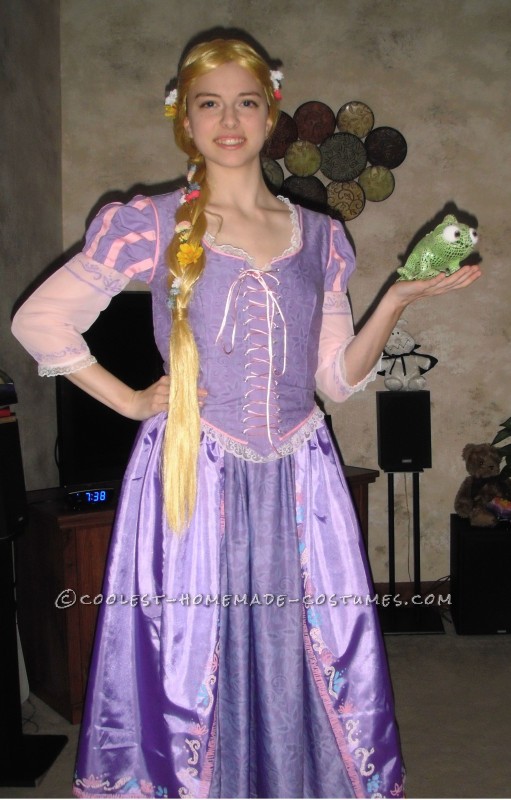
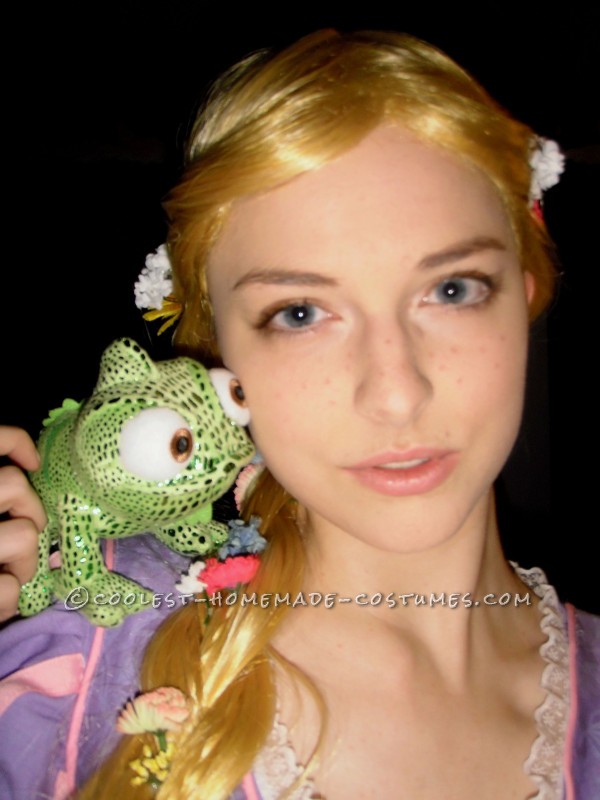
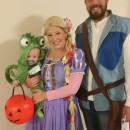
Rapunzel and Pascal
Pattern & Slip
First thing i had to do was find a pattern. There is none for Rapuzel so i used the simplicity pattern for Snow White/Cinderella and altered it a little. Instead of lining the costume I decided to make a slip for it instead. Plus she wears a white slip with lace at the end so it gave that realism. I took the pattern and just made the bodice (but changed it to a sweetheart neckline) and made the skirt (shortened) and attached those together. Then just sewed up the hems and added lace at the bottom.
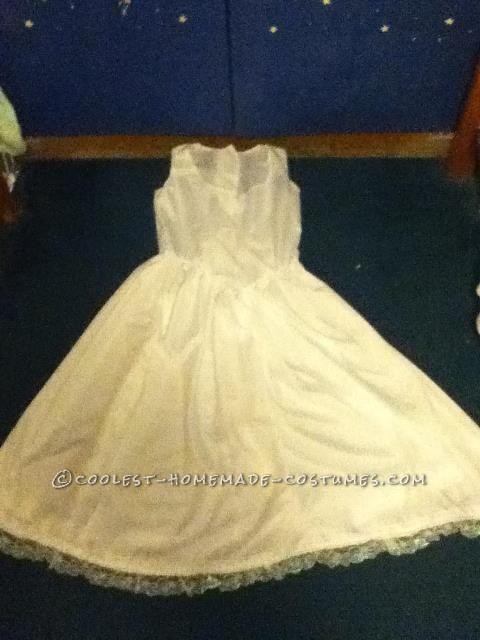
slip
Bodice
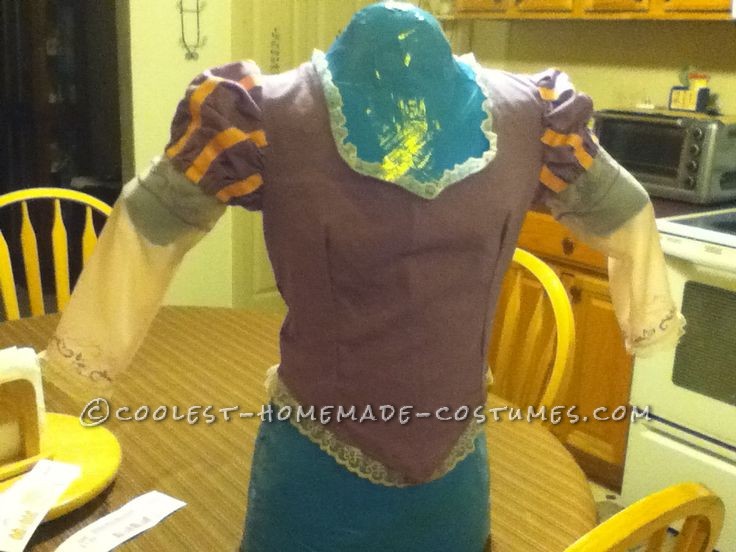
Next was to find fabrics. It turned out to be easier to buy purples i liked and then dye the specialty floral fabrics from spoonflower.com to match. Once again i followed the pattern but made it a sweetheart neckline and added the puff sleeves.
Now i had to hand stitch the ribbon on the puff sleeves to make the strips and to make sure that they looked correct and straight. I also added the pink lace to the bottom of the bodice and white lace to the neckline.
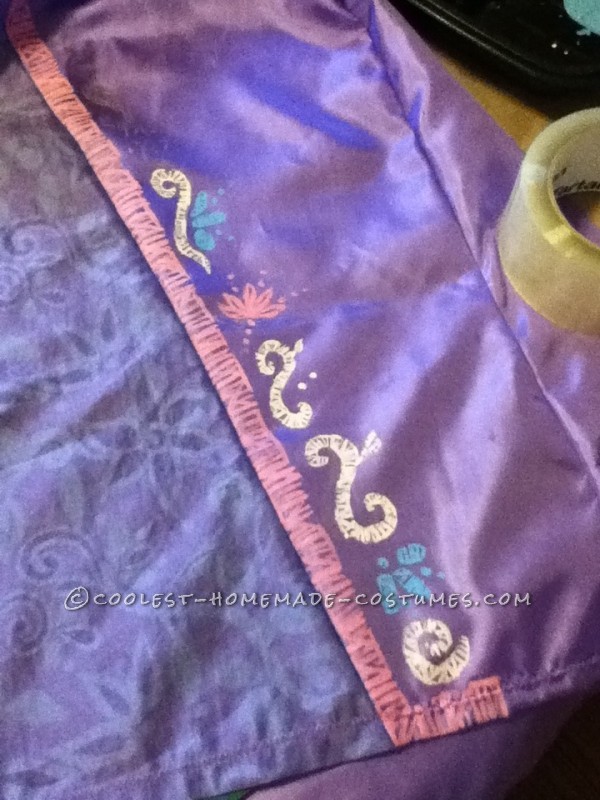
The sheer pinks sleeves were just made by measuring and trial and error. Third time they worked out but after wearing the costume once, they ripped because they were too tight so i had to make them bigger. I also hand sketched the designs on the sheer sleeve and painted it on with fabric paint.
Skirt
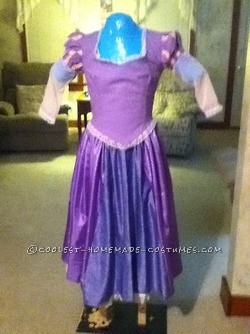
Next was to make and attach the skirt. I made the skirt with the pattern but shortened again like the slip. Also made another panel out of the floral fabric (dyed with a blue to make it match better).
Although i had considered trying to embrodier the skirt like it actually is, i had decided it was better to paint the design like i did on the sheer sleeves. I was worried about time, money (i already have a lot of paint so i didn\’t have to buy any), and the fact that the skirt fabric is technically only a lining fabric so i was worried about the material handling the embrodiery thread.
But i made and effort to paint the design to look like stitching.
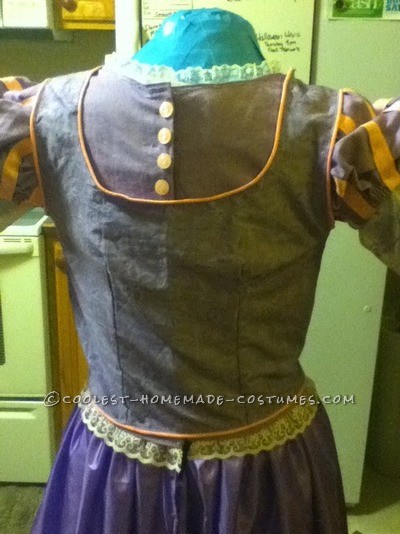
The back & corset
I decided to just close the back with velcro but i still wanted to keep her look so i sewed on button to give the look of having a button closure.
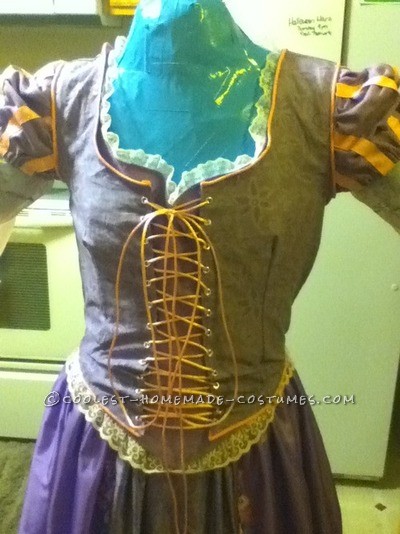
I didn\’t want to attempt to make a real corset so i decided to just give the illusion of one.
I dyed another floral fabric from spoonflower.com with a different blue to match the bodice. Then i cut out the bodice pattern again but this time made the back scoop down and the front open and space for it to stay open.
Then i stitched on pink pipping and hammered in grommets.
Wig
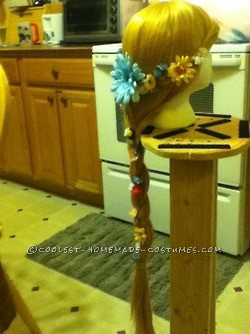
I bought a golden blonde wig online. I had originally intened to thicken it but again i was worried about money and time so i stuck with the regular wig itself. I simply braided it (with some smaller braids inside the large braid), braided the bangs and pinned them back, and then hot glued the flowers in.
Complete!
Then it was just a matter of putting the costume on and doing my make up!
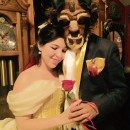
My friends had dressed up as Disney Princesses too! <3

Your comment has been sent successfully.