I like to think of myself as a super creative person. This year, I wanted to pull out all the stops. I thought to myself, what is better than dressing up for Halloween? The CANDY! So I decided to put the two together and make my costume out of candy and their wrappers.
About two months before Halloween, I enlisted the help of my friends, family and co-workers to eat candy and save their wrappers. Any excuse to eat candy is great, so everyone was happy to help. Boy did they help; I was getting small garbage bags FULL of wrappers! Once I had enough wrappers, I was good to go!
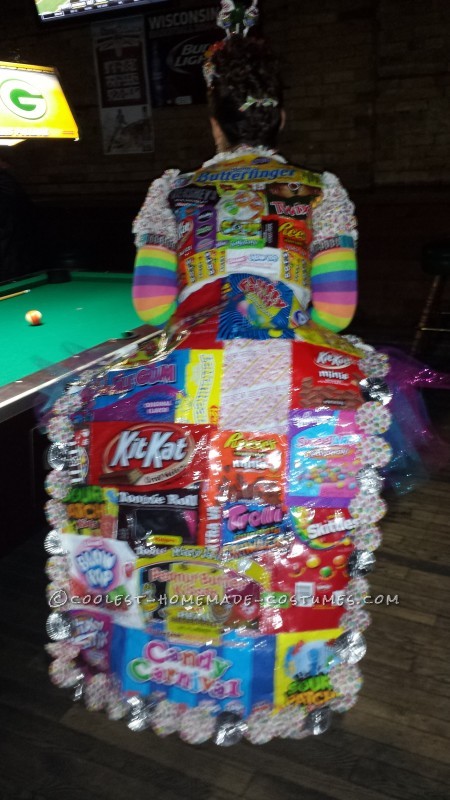
Back Picture of jacket and train
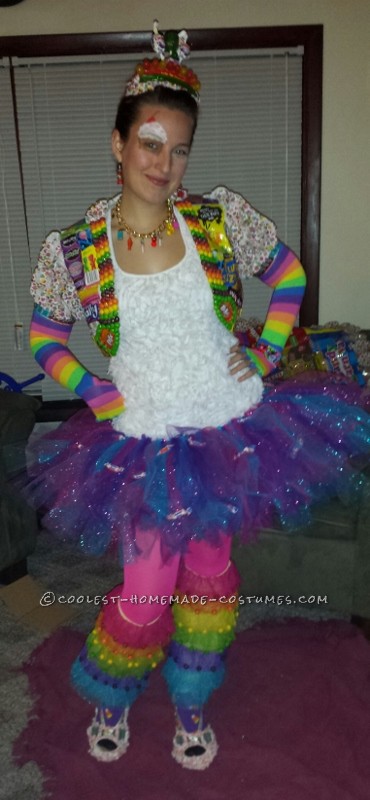
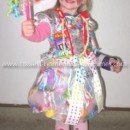
Front Picture
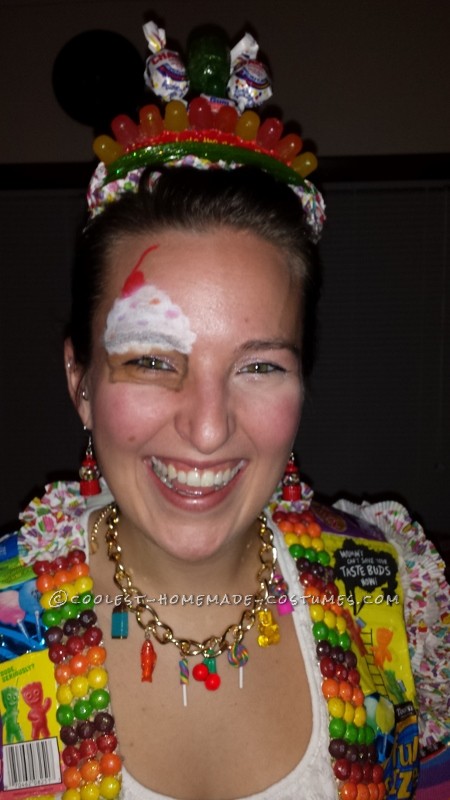
Close up shot
Cutting and Sealing then “Popping Tags” for the Base
First, I needed to cut out the good parts of the wrappers; names, pictures of the candy, and fun sayings. After having a nice pile of them, I was onto the next step. I needed to seal any candies that I was putting on the costume. I separated the colors of a HUGE bag of skittles, laid out some sour patch kids, dots and ring pops. I sprayed each of the candies multiple times flipping in between to make sure they were sealed all around. I wanted to make sure that if it rained or if I got spilled on, then the colors of the candies wouldn’t bleed onto the rest of the costume.
I needed to find the under-lining articles of the costume that I could completely cover up with all the candy and its wrappers. At the Thrift Shoppe, I found a pair of wedges and a short jacket, both for less than $5. At Hobby Lobby, I bought tulle to make a tutu and gumball charms to make earrings. Everything purchased that day was all half off, so I only spent about $15 there. The rainbow tulle legging was my most expensive individual item at $7 at Wal-Mart. I found, in my box of old costumes, a tiara, long rainbow socks and candy corn socks (thank god for the socks, it was a very cold night). Lastly, my friend surprised me with a gift of the candy necklace I was wearing. I think the most expensive part to my costume was purchasing all the candy!
Raining Skittles on Rainbow Tulle and Strutting Stuff on Sour Patch Kids
After cutting up whole ton of wrappers and sealing all the candy, I was ready to start. The first thing I started with was the rainbow tulle legging. On each of the colors, I individually added the same color skittles. This was a bit of a task since once you put hot glue on tulle, it melts. I came up with an idea on how to make the skittles stick, add a button on the underside of the skittle with the tulle in-between. This worked like a charm! I did a skittle every inch using 75 skittles per legging. Not only did this look super cool, but as I walked it had a cool noise as the skittles hit together.
Second, I started to work on the shoes. I started by trying to wrap licorice around the bottom of the wedge. I soon learned, after using 2-3 glue sticks, the licorice wasn’t going to stick. As soon as the glue would dry, I would let the licorice go and it would just peel right up. I think it was the oily glycerin stuff on the outside, so I nixed the licorice. I decided to try sour patch kids, which I lined on the bottom of the wedge very colorfully. These worked much better! I put glue on the back of the candy and pushed it onto the shoes. I then had to use the glue to seal around the entire piece of candy. I did this with each individual piece. To cover the rest of the shoe, I used DUM DUM wrapping paper. I ripped and crumpled up little pieces and glued them all over the rest of the shoe.
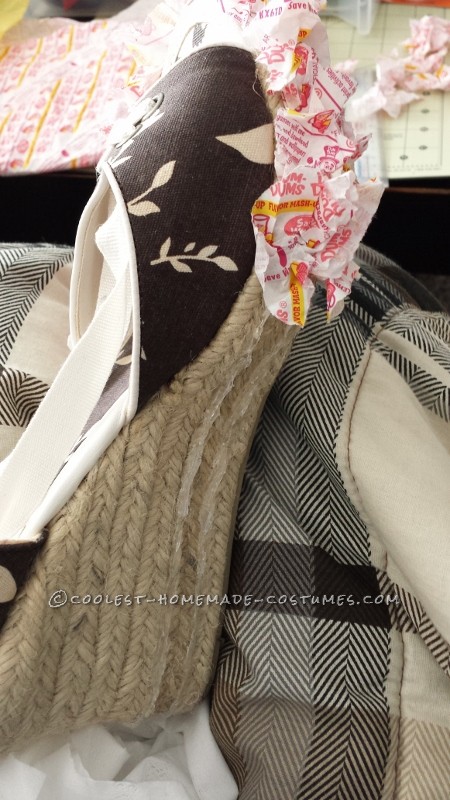
Starting the shoes
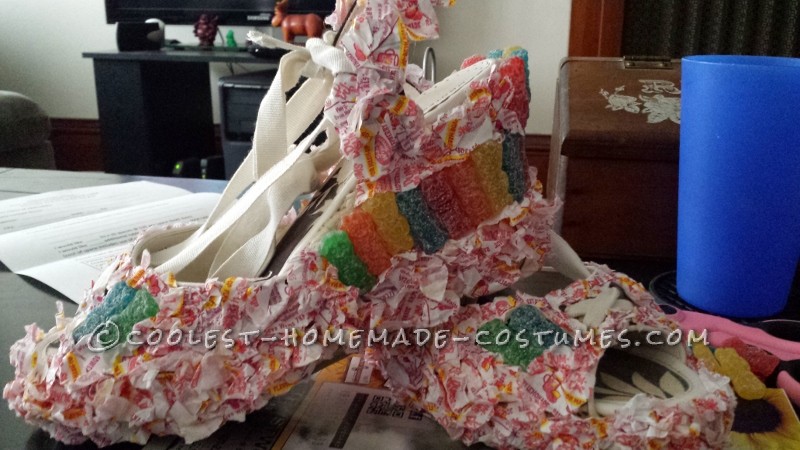
Both Shoes
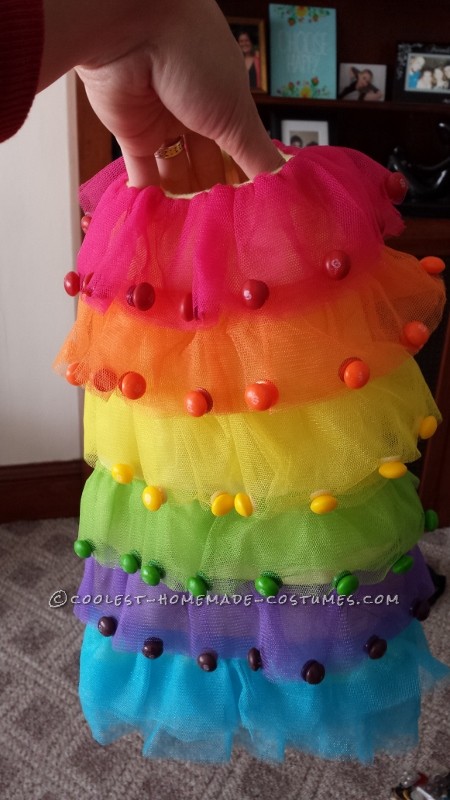
Rainbow Leggings
The Most Difficult Part of the Costume
The next thing I worked on was the jacket, this part took me a while. I started on the back of the jacket; I took pieces of the candy wrappers that I had cut apart and glued them on individually. This was kind of like a puzzle, I would take a piece of a wrapper and hold it up to the area I was thinking about and see if it looked like it fit or not. I had big, small, square, circle, cellophane and cardboard wrappers to choose from. The cellophane wrappers were a little harder to glue together. When it got hot, it would start to melt, so I had to be quick with it. After adding the wrappers to the back, I made sure I sealed each edge of each wrapper down, that way when I moved around nothing would fall off.
I then went onto the shoulders which I used cupcake liners for. I really wanted the shoulders to have a little poof to them and the liners worked perfect for that. I flipped the liners inside out, so I could see the detail on the outside. I put a dot of glue on each one and started adding until each shoulder was filled.
I then moved onto the front of the jacket. First, I did the puzzle again, adding the cut wrappers where they fit. After that was all placed and the edges sealed, I started to add skittles. Doing the skittles section on the jacket was hard, a drop of glue on the back of the skittle and place it strategically. Then, I glued all around the individual piece to make sure it wasn’t going anywhere. I lined up the colors and worked my way down. When I got to the bottom, I lined a Kit Kat wrapper in the skittles on each side, to make it look like I had pockets.
After getting the jacket done, I was so stoked! It looked so cool and I had put in so much work into it. It was a little difficult to put the jacket on as it was so stiff from all of the glue that was used. I needed a friend to help bend it while I put both my arms back and she slipped it on and the same to take it off.
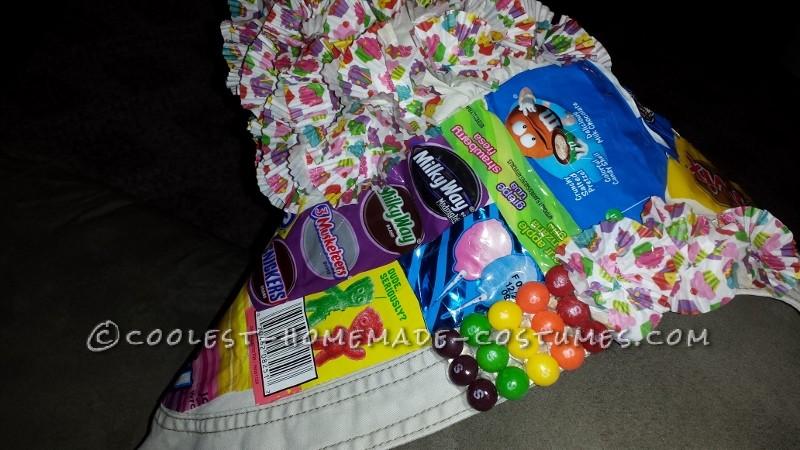
Mid-way Through the Jacket
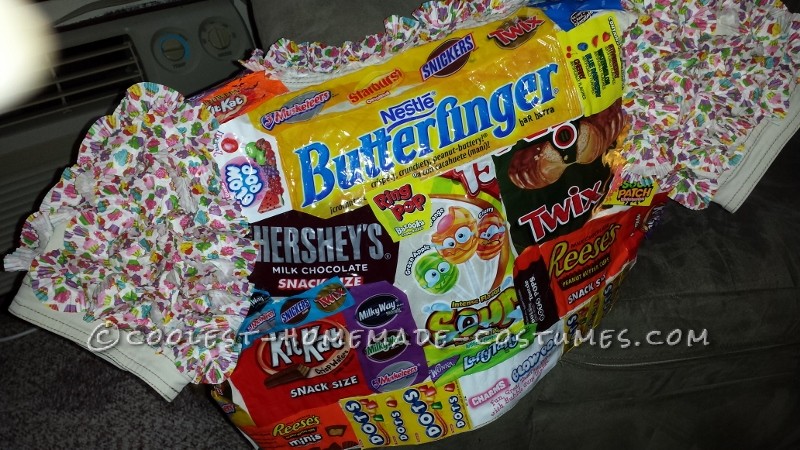
Back of Jacket almost done
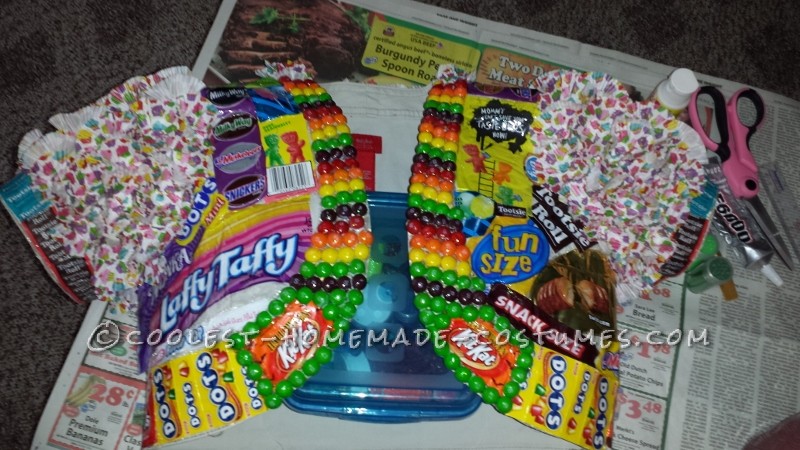
Final Product Drying
Tutu said the Train
Next was the tutu. I had three different colors of tulle on a spool. I took a rectangle piece of cardboard and wrapped the tulle around it until it got to the end of the spool. After wrapping it, I cut it on one end, this gave me about 18 inches of a piece of tulle to work with. I had never made a tutu before, so I looked up directions. I found a way to just tie the tulle onto a ribbon or waistband. This was easy; it just took a little time to tie each individual piece. One thing that I didn’t think of was the glitter in the tulle, as I tied each piece, glitter fell everywhere! I think I will still be finding glitter everywhere come next Halloween! I loved how full the tulle was and the colors meshed together really cool. I glued some wrapped up gum pieces a few places around the tutu to continue the candy theme.
Next was my train, which was first going to be a cape until I realized that it would cover up a lot of my hard work on the jacket, I definitely did not want that. I used the bigger bags of the candy wrappers here. Again, like a puzzle, I found which pieces looked and fit the best for each part and just worked my way down. I would glue an edge of the wrapper and press it onto an edge of another wrapper. Someone asked, while I was out Halloween night, if it was laminated. I told her what I had done, but thought what an awesome idea that would have been, maybe saved some time too. After getting the right length and width, I added some cupcake liners around the edge of the train. I figured it made it look more elegant that way. I poked some holes in the top of the train and put some ribbon through to be able to tie it around my waist.
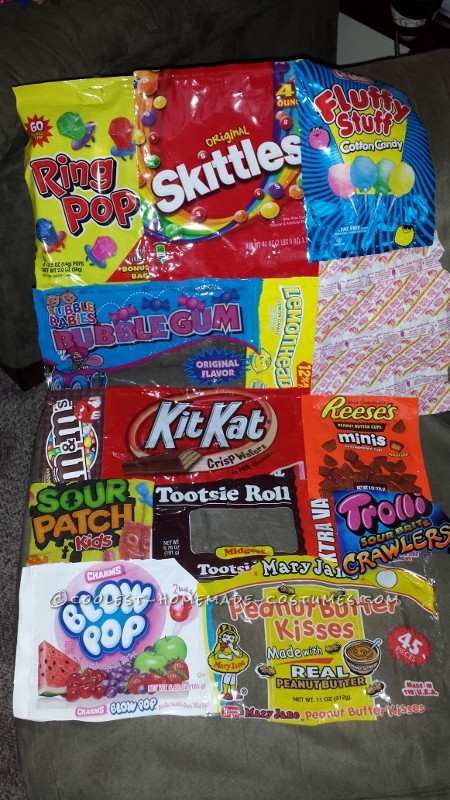
Starting the train
Too Cold but Still Must Crown the Queen
Realizing how cold it was going to be out; I found some socks, not only for my feet but also for my arms. I found some long rainbow socks which I used for my arms. I cut off the top of the sock for my fingers and a hole for my thumb. I cut slits for my fingers and asked my boyfriend for help in tying around my fingers. I glued each knot in-between my fingers and pulled and glued a few areas around my wrist to make it a tighter fit. I definitely needed my arm socks that night!
Lastly, I did the crown, because what kind of Queen doesn’t have a crown? I had a princess tiara from an old costume which I used as my base. I took suckers and glued them on the backside so they popped up at the top. Tried again with the licorice, it took about five glue sticks for the pieces to stick, but I made it happen! I had a piece of a wrapper that said “taste the rainbow” and I put that in the middle, then covered the rest with small pieces of cupcake liners and DOTS. I left the long ends of the wrapper on and thank god I did, I needed those pieces to poke a hole and tie a ribbon through. The ribbon then helped hold up the top-heavy crown, as I tied it through my hairstyle in the back.
Showing Off My Costume and Winning!
On Halloween night and Saturday night, I went out to some of the bars around me. Now, what kind of a Queen of Sweets would I be if I didn’t hand out candy to everyone? Yes, that is what I did, people loved the whole thing! The comments I was getting were, “Amazing”, “Super Sweet”, “WOW, how long did that take?!”, “Insane”, “Did you eat all that candy yourself?”, “Can you help me with a costume next year?”, “Miss Creative”, Awesome costume”, someone even tried to pick off my skittles and eat them! The first night I was out, I won a quarter barrel party. I missed the times on a few other contests. The second night, I won a pizza, a $50 bar tab, and a first place prize of money and gift certificates.
I had so much fun making this costume and even more fun showing it off! I cannot wait until next year, I just don’t know if I will be able to top off this year’s costume.

Your comment has been sent successfully.