“I want to be a dragon!” My daughter loves everything about dragons. If she could be a dragon in real life, she would. Every year for the past three years, I have tried to make this dream a reality for her for Halloween. And each year, her costume becomes more elaborate than the last.
This year she wanted to be Toothless from the movie, “How to Train Your Dragon.” I started by looking through many web sites and YouTube videos for inspiration. Most of the costumes we found online were made for adult cos-play and required the person inside to be on stilts or crutches and bent over on all fours. My daughter being nine, provided an extra challenge as she is fairly small and lightweight, but wanted a very large costume. I wanted her to be able to move fairly easily in it.
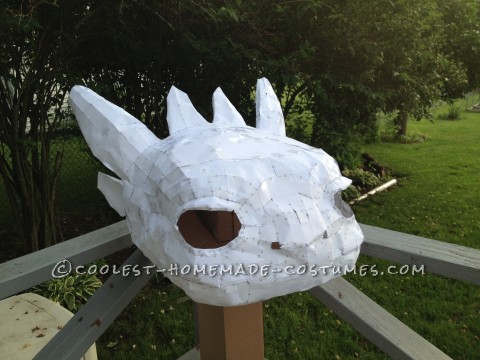
We started the process by finding a Pepakura Model online, and building the shape of the head. The Pepakura Model is an origami version of Toothless’ head. This seemed like a good idea at first to get a base shape and the proper form of the head, but cutting and folding 34 sheets of paper to make this head was a lot of work and took far longer than I could have ever imagined.
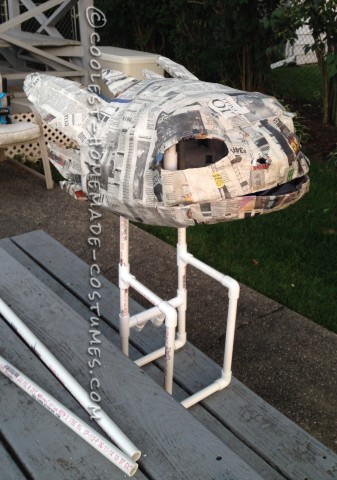
Once we had the origami head assembled, I coated it in paper-mâché. I also built a support system out of PVC pipes to allow it to “float” above her head and rest upon her shoulders. Her head would really be in the neck of Toothless.
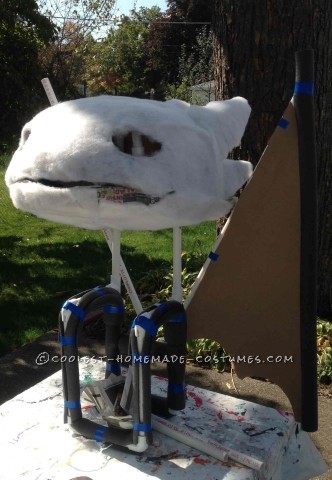
We then coated the head in batting, and build wings from pipe insulation and paper.
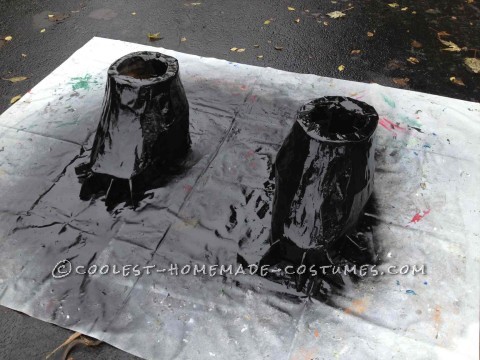
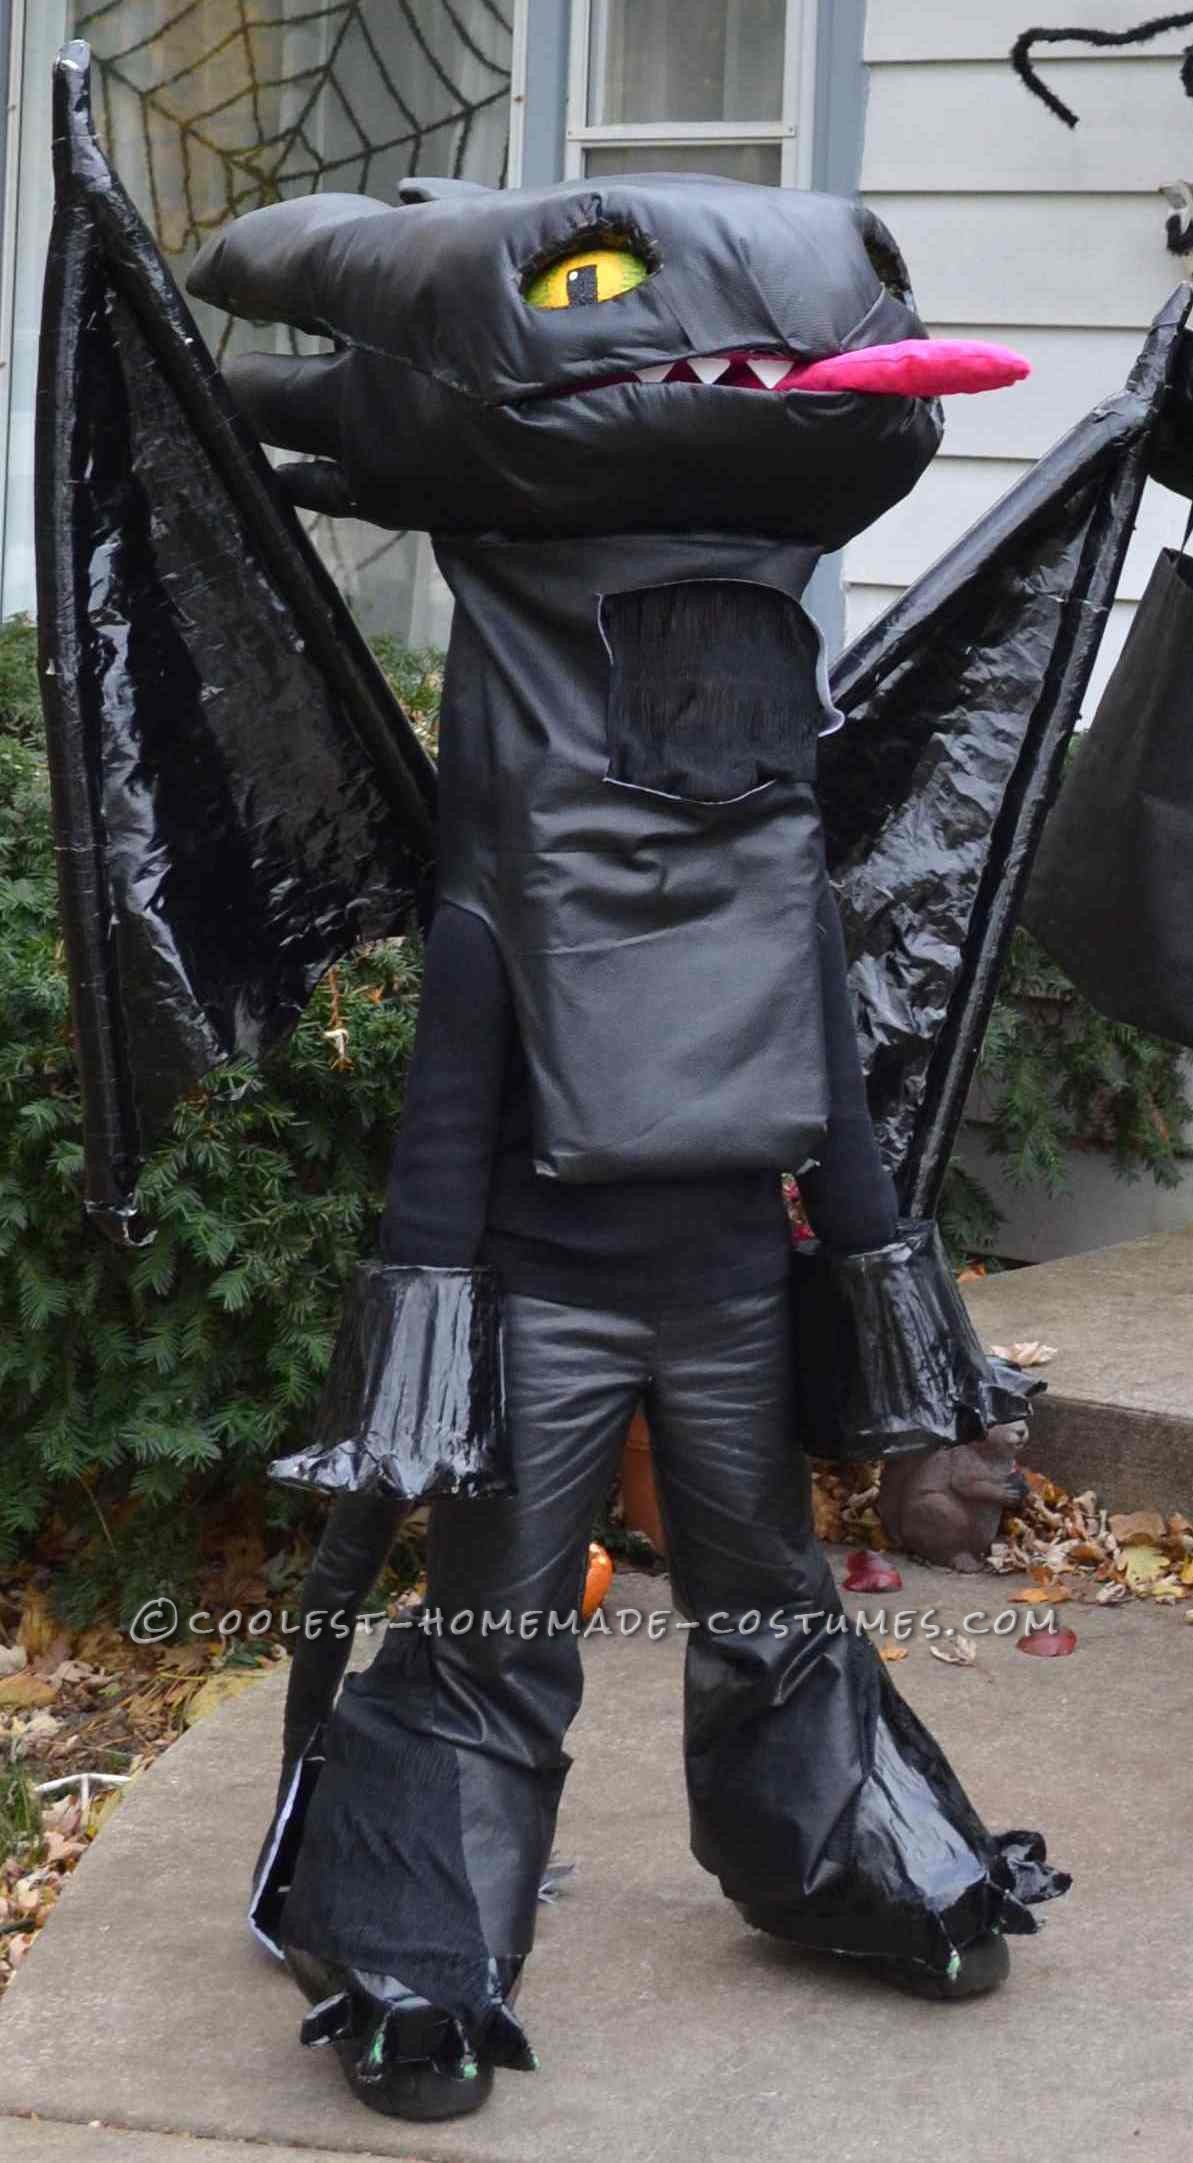
We covered her hands and feet in paper-mâché claws. These slipped over a pair of boots. Each paper-mâché was coated with black glossy spray paint.
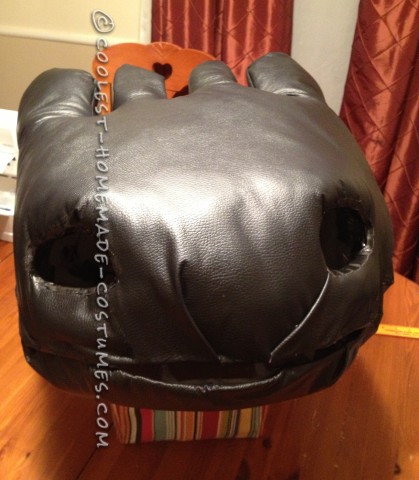
The head was wrapped in a faux leather scale-like material. The material was sewn together in parts, and secured with hot glue, duct tape and staples in others. The seams or staples were covered with black paint so they wouldn’t show. I also painted two Styrofoam eggs with acrylic paints to fit into the eye sockets. They were secured with duct tape. Please note that certain paints will dissolve and melt Styrofoam. Test your paint out first so you are not surprised.
I made a pair of faux leather pants using a basic Simplicity children’s pants pattern and slightly altering it. We left the seams open from the knee down and inserted a light see-through black material. If my daughter were not wearing the paper-mâché boots on her feet, the pants would look like bell-bottoms. I also made a tail out of the same material. I measured the distance from where we wanted to place the tail on her back to where it would touch the ground.
Then I cut a mostly cylindrical shape of material. I sewed a seam up on side, filled it with stuffing and sewed up the ends. I also put Velcro on the end of the tail and the back of her costume so she could remove it if she liked.
Once we were happy with way the head was covered, and how the PVC brace fit, we measured the distance around the brace and the length from the bottom of Toothless’ head when mounted to the bottom of the frame. I added about 4 inches of extra fabric to the bottom of that before cutting.
Then, we sewed a stitch up the side, shimmied it up over the frame, and put Velcro strips at the top to secure it. We also measured where my daughter’s face would fall in the faux leather section of fabric. We cut out a square in that material and then secured a slightly bigger square of sheer black fabric over the ‘face hole’ in the neck of Toothless, so she would be able to see out, but people would not be able to see in and see who she was.
We also decided to add cardboard teeth and a fabric tongue. It was a lot of work, but I think it came out pretty well. My daughter was happy with it, especially since she won first place in her school’s costume contest!
I would recommend giving yourself several months to work on this project.



Love this costume! Very creative!
Love this costume! Very creative!