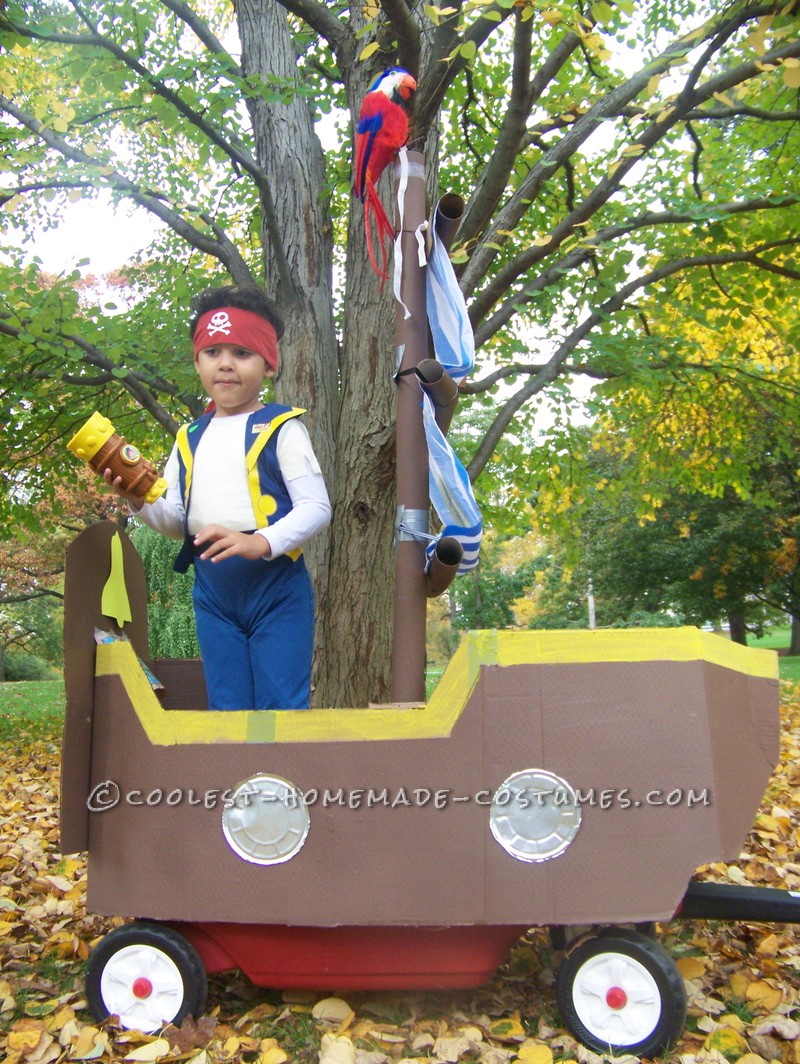
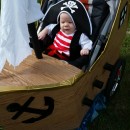
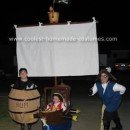
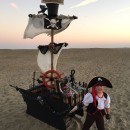
How to turn a child’s wagon into a Pirate Ship for Halloween. We took our radio flyer wagon and decided to use it as the inside of the vessel. It took us about a few hours to put it together and the way we set up our trimmings leaves it entirely up to you on how to customize it. The wagon allowed for my son to stay inside and not wander and he was the highlight of the parade we were in.
But on to the steps. You’ll need these items.
- A glue gun (small one did us just fine) with glue sticks
- A large cardboard box
- Paper tower rolls (between 10-12 of them)
- Brown paint
- Shower curtain
- Blue masking tape
- Construction paper
- Scissors
- Aluminum plates (4)
- 5-6 pieces of ribbon.
- A plastic cup.
- Exacto-knife (box cutter)
1. So get a wagon. Good job. Step one, done!
2. Buy a cardboard box large enough to lay horizontal and go around the wagon.
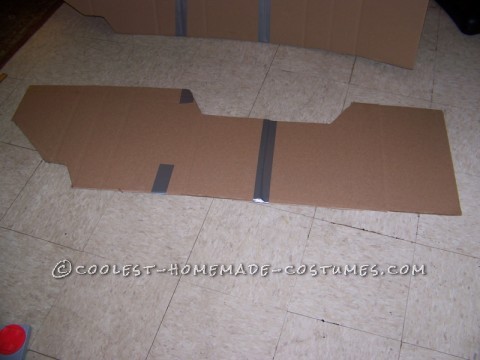
3. Cut the box along the seams so that you have four pieces (two broad and thinner)
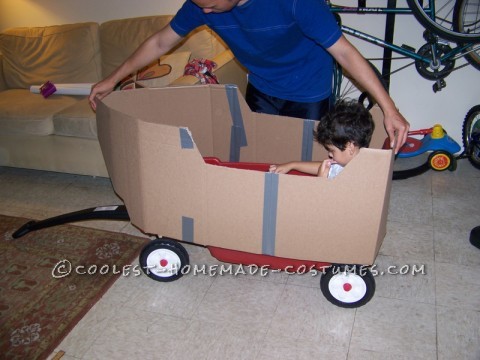
4. The broad pieces go on first and they will be the hull. Measure it to the side of the wagon with the bendable flap going towards the back (the front of the ship with be the part with the handle).
5. The two flaps on the stern (back) of the ship should fold and overlap each other to form a back.
6. Now, using a pencil, draw the top of the ship where you should cut. As you can see, this is the yellow trail of the ship. We made that cut and then painted it. You can do whatever and choose however you want to make the cut, just make sure you child is visible.
7. The bow (front) of the ship then needs its lower cut as well. There are several ways to make this cut. Pull up some pictures of ships and check them all out. *note the handle of the wagon should be below the nose of the ship, not above*
8. After tracing these, make your cuts with the box cutter. Make sure both port and starboard sides are equal (right and left. C’mon! Get with the boat lingo).
9. Be aware that the wagon has these two bumps on the front. You have to cover OVER them, not above. Make sure the wagon is above the wheels.
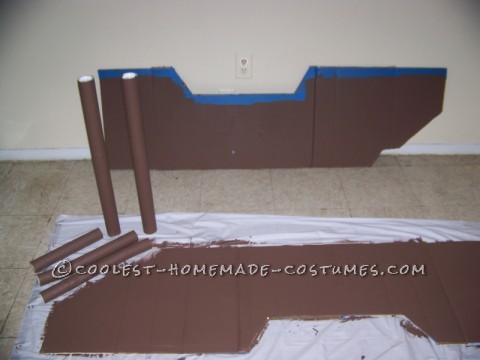
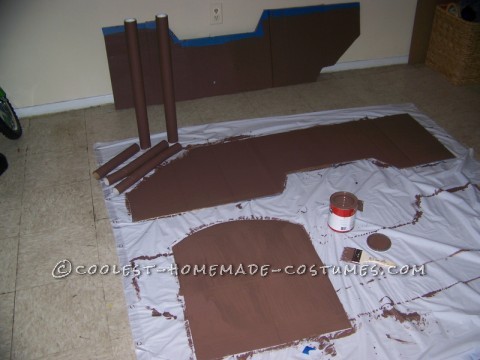
10. Paint the pieces of the hull.
11. Hot glue action. With two people, one holding, one gluing, glue the back flap, back corner, middle, and front by the bump. Press each side after gluing and hold for a minute. Go crazy with the glue. It’s comes right off when you are done but you don’t want it to fall apart.
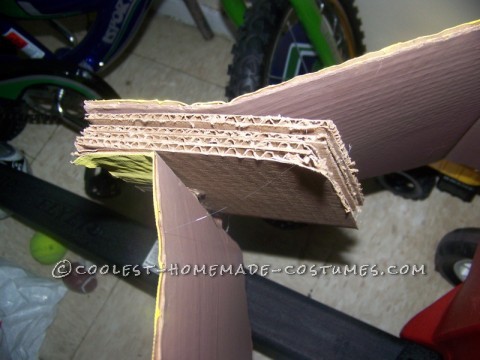
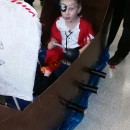
12. With both sides glued and settled, now it’s time to bind the nose. I packed together smaller pieces of cardboard to make a thick (over an inch) of buffer between both sides of the nose. This way when you glue, the side don’t have to come in as much. It’s much more stable this way and really holds the ship together (check the pictures for the overhead).
13. With the hull done, onto the other parts. Tape and paint/combine the rolls of paper towel rolls for the mast. Make the long piece first (our mast was over five feet tall).
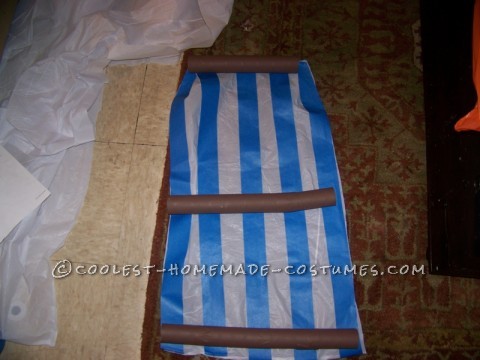
14. Use the white shower curtain and cut it, put stripes of blue using the blue masking tape and glue the horizontal rolls accordingly. From top to bottom, the rolls get bigger. *note* Make sure the curtain is puffed out a bit. It gives the illusion of wind being caught on it. Takes it to another level.
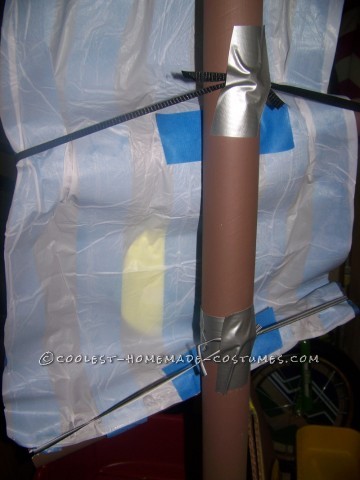
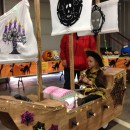
15. This was actually the trickiest part. Take the horiz. mast and poke holes through that and the sail. Using ribbon, tie that piece of the horiz to the vert. Have someone hold the sail while you do it. When you tie and secure it, tape over it to keep it in place. The topmost horiz. mast is not all the way to the top. Leave some room. (Look at the pictures)
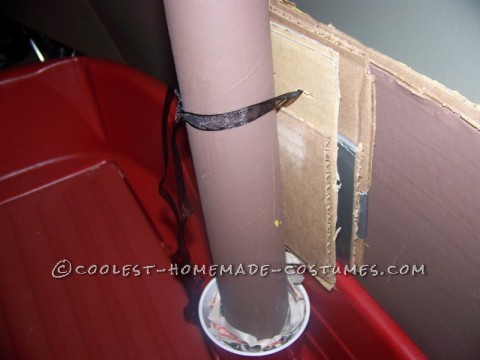
16. With the entire mast/sail made, take a large plastic cup and pour hot glue into it and then push the vertical mast into it. Then pour hot glue into the cupholder for the kid’s seat and push the cup into that. With all of that settled, you vert mast is done.
17. Not really! For some insurance, you have to take some precautions. Make two holes on the starboard (right) side of the hull and fasten the mast to the hull with ribbon. Tie a tight knot and then tape it on the side. This will prevent you mast from going anywhere.
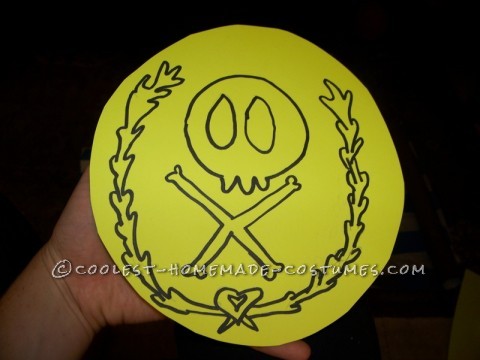
18. Then everything else is extra. Add the portholes (the aluminum plates cut into circles and taped to the side), the pirate crest taped to the sail (construction paper), the parrot tied and taped to the top of the mast, the construction paper bell and map pasted to the stern above your child’s head. And you can go really wild- a treasure chest and a few cannons were part of the scrapped plans for our ship.
Our son’s costume was store-bought. We added a spyglass but that could have totally been made as well. This was just a tutorial on how we put his ship together.
Your comment has been sent successfully.