It all started with the tornado. On a sunny day in August my darling 9 year old son came to me with his Halloween requests. He had decided on a costume, and much to my surprise it had absolutely nothing to do with a super hero or a video game! He wanted to be a TORNADO! His curiosity for tornadoes had been growing for quite some time so it wasn’t exactly shocking, but at the same time I was already questioning my ability and had no idea where to begin.
However, being the queen of themes and knowing that all of our costumes were going to be handmade my brain automatically went to Oz. Of course, I turned to Google and was led straight to this incredible place. (My inspiration for most of our costumes came directly from this site. Job well done, guys!) So began the journey to the coolest costumes I have ever made.
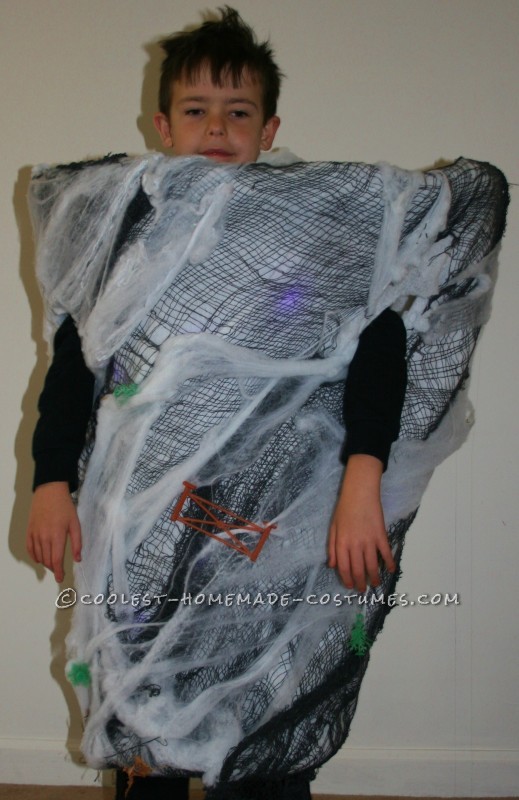
The Tornado!!
The Tornado:
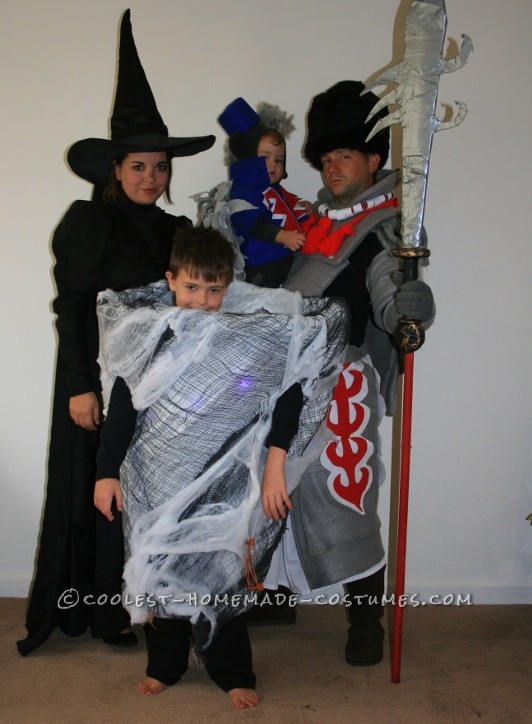
Supplies we used: One roll of chicken wire and two rolls of fake snow decoration from the hardware store, all purchased for about $25. 3 creepy fabric curtains, two packs of spider webbing, battery operated lights, and various plastic toys purchased at the dollar store. Total cost was less than $40 and we have plenty of leftover chicken wire for future projects. To begin, we rolled out the chicken wire in a funnel shape and secured it around itself by bending in all the sharp edges.
My husband was a great help in this process. I strongly suggest an extra pair of hands while completing this task!
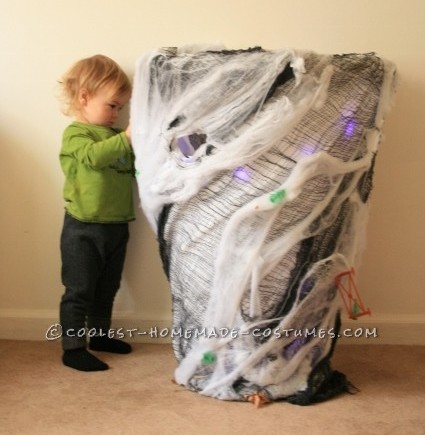
We then cut out two armholes and lined them with duct tape to avoid any scratches. Next, we covered the entire structure in the fake snow decoration (quilt batting would also work, but I found this was cheaper) making sure to apply it diagonally to begin the spinning illusion. We secured it by tucking it into the edges and then rolled the chicken wire over itself so that it wouldn’t budge. For the detail we added the creepy curtain fabric and spider webbing in the same diagonal fashion and secured it with spray adhesive. Finally we were ready to light it up by using yarn to secure the lights and battery pack to the inside of the structure.
To finish it up, we added plastic farm animals, trees, and fencing which my toddler pulled off about a million times before Halloween. This was by far the easiest costume of the four to make, but also the most fun! My son absolutely loved it because EVERYONE we encountered while trick or treating was just amazed. He truly was the star of the night. It was rewarding on so many levels and I discovered my new favorite material to work with, chicken wire. The stuff is amazing and the possibilities are endless, can’t wait to use it again. Now, on to the sewing.
Intro to the Sewing Process:
Usually, the hardest part of any project for me is finding the right supplies and fabric needed to create it. Living in a small town becomes a major stress factor when creating anything and improvising quickly becomes necessity. I searched high and low in three counties (we live two hours from the nearest large fabric store) for the perfect dark gray felt for my husband’s Winkie costume and wound up purchasing two twin size blankets for $8 each instead.
While it wasn’t perfect, I think it worked out just fine. I also had a terrible time trying to find the right fur for both the Winkie and the flying monkey but found some fake beards and re-purposed a stuffed animal to get the look I wanted. My advice, just work with what you have and make the best of it.
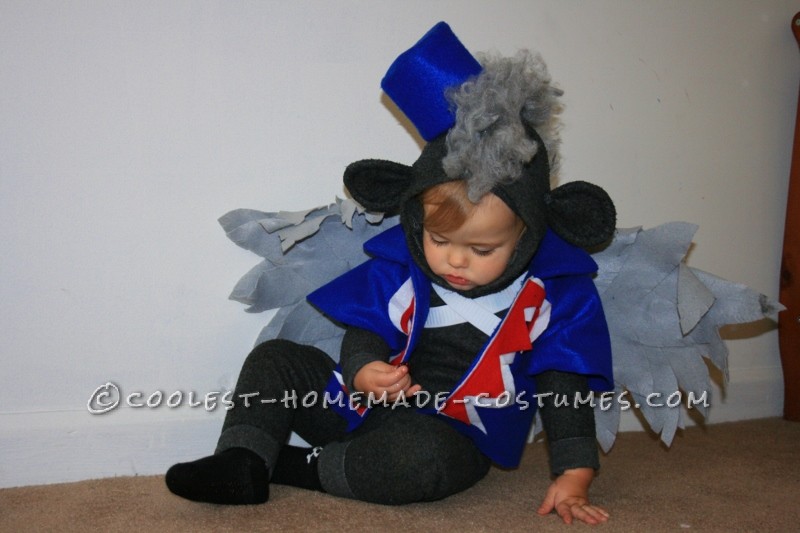
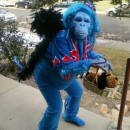
The Flying Monkey:
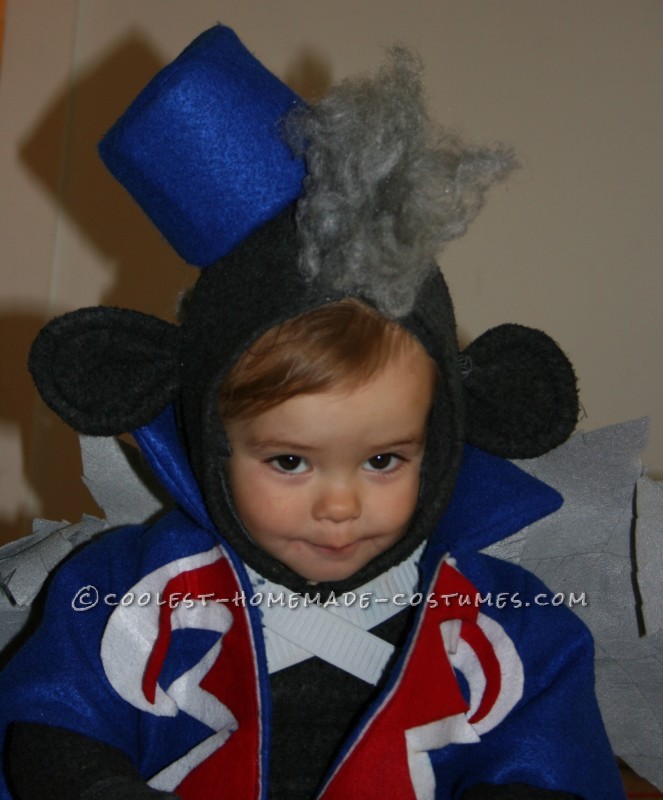
I love making clothing for children. The small amount of fabric required usually allows for re-purposing and anything that saves money and is eco-friendly is a major plus for me. I got lucky and spotted an extra large men’s pullover in a local thrift shop (where all items are $1!) that was the right shade of gray fleece. It worked out perfectly to fashion a hoodie and pant set which would serve as the base for my toddlers costume.
Since I didn’t have a pattern I just laid out one of his outfits and traced around them to make my own pieces. I wound up having to re-work the hood and add some fabric to make it more comfortable, but in the end it worked out. I then added the fur (fake beard) and ears to the hood and began constructing the jacket and hat out of felt. I then drew and cut out the decorative swirly pieces and attached them to the jacket.
The biggest challenge were the wings. I purchased fairy wings at the dollar store as a base and made felt “pillowcases” as my husband suggested and glued about a zillion hand cut feathers to it. This was very time consuming but the end result was the most adorable little flying monkey around. He loved his costume and didn’t want to take it off. Luckily we live in a cooler climate this time of year because this costume was warm. It was nowhere near as warm as the Winkie guard though.
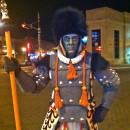
The Winkie Guard:
As I mentioned before, good fabric selection is scarce where I am from, so I improvised with a couple of blankets I bought at a dollar store. I looked and studied photos of the guards costume for a few days before I could wrap my head around a design concept. I started construction with a white bottom skirt made from an old sheet. I cut a slit up the front and added the two layers of blanket skirts and drew out and placed felt decoration to the top layer. This skirt piece was very heavy and required straps to help hold it up.
I then constructed the chest piece from the blanket fabric which consisted of one solid base with four armor plates added to both the front and back. Did I mention the costume was warm? We added the sleeves and gauntlets directly to the undershirt. Details such as yarn tassels and buttons were then added for the full effect.
For the necklace I used the tubes from two packages of aluminum foil, cut them in the desired size, painted them white, and put them on a string of yarn. A friend let us borrow a marching band hat she had laying around and I made a felt slip to go over it and covered it in fur obtained from an old stuffed animal. More of that “use what you’ve got” motto. We glued some of the fake beard fur to the shoulders and it was finished!
My husband constructed his staff himself from our rake handle, some poster board, and duct tape. While trick or treating he stood guard at the door, it was a great effect. People loved it!
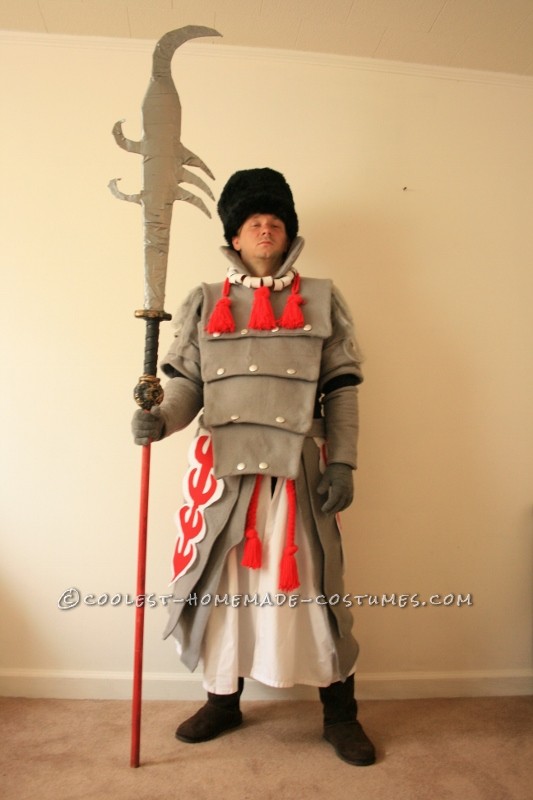
Winkie
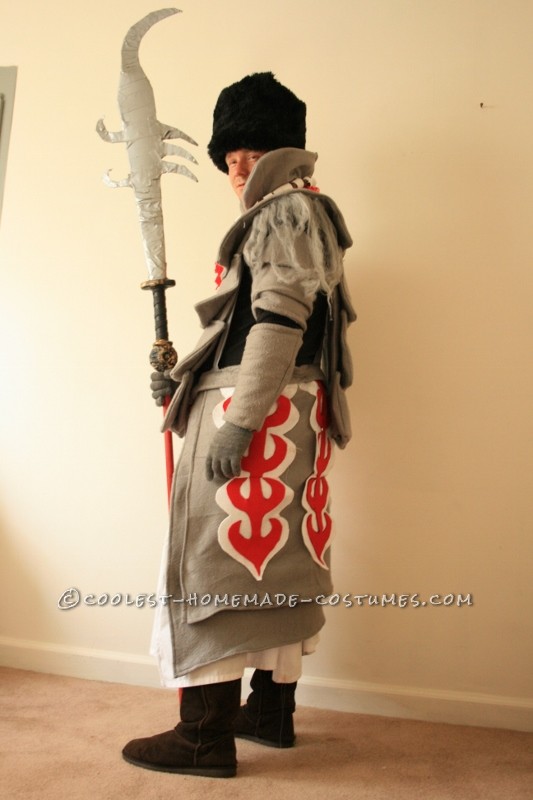
Side View
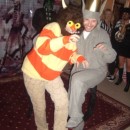
The Wicked Witch of the West:
For all of the costumes I studied and researched to try and achieve the best look. My costume was no exception. I wanted it to be as close to the real thing as possible, and with no patterns it was quite the challenge. I traced around a dress of my own on some $1 a yard fabric I happened across at our local mega chain store and went from there. With the base of my dress sewn up I then had the daunting task of those crazy poofy sleeves!
I found a jacket with poofed sleeves at a thrift store and bought it to take it apart and see how it was made. I then made my own pattern and used an awesome dental floss trick to gather them and make them stand up. After that I added the cape and a collar and constructed the corset top to add that final detail. I bought a hat that was made of a nice foam and stood up well for $3. I then made a cover for it to make it match the dress. Add a bit of green makeup and all that was left was to channel my inner evil. Ha! It’s way too hard to act evil when you are saying thank you to every single person who passes as they ooh and aah over your creations!
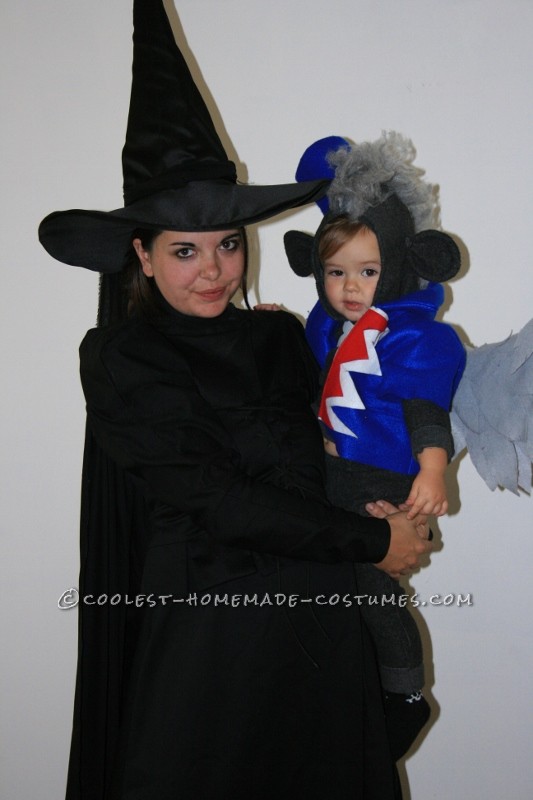
The Witch and her sidekick
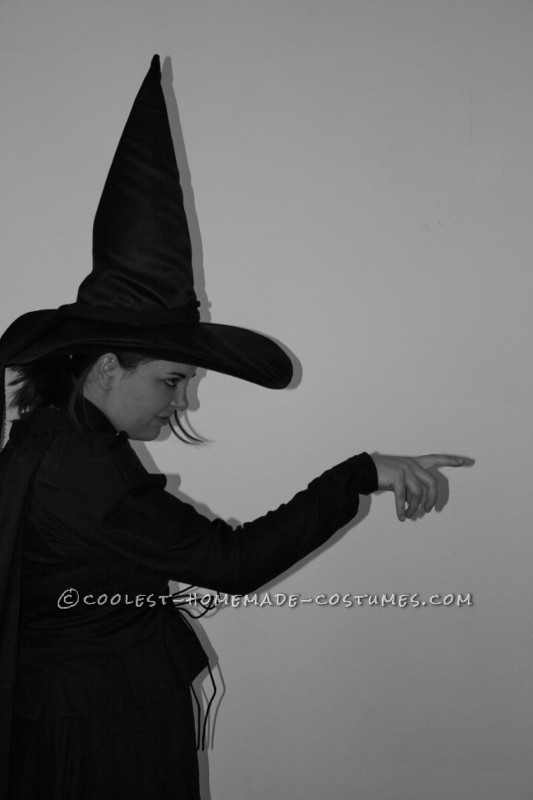
I’ll get you
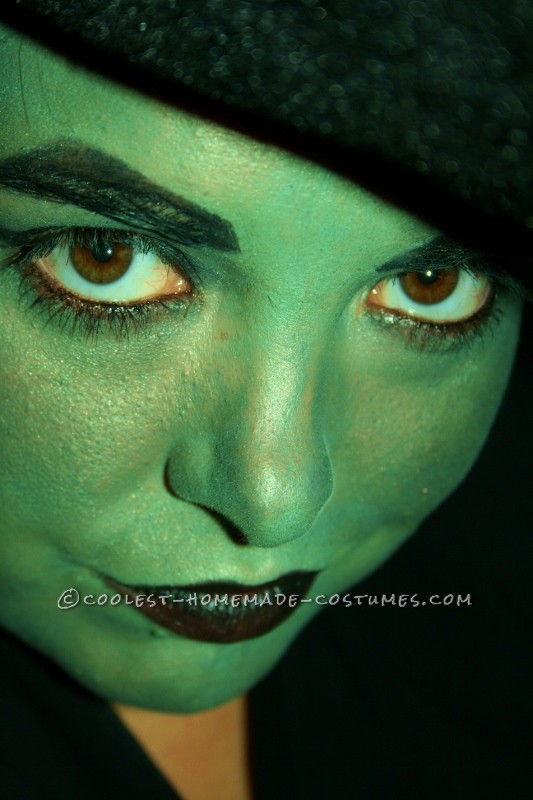
Feeling Green
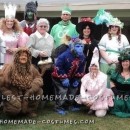
In the End it Was So Worth it!
My whole family had a blast and loved the attention we got. We had total strangers making us pose for pictures and everyone commented on our costumes. We had a business owner tell us we should have our picture put in the paper. My 9 year old felt like the most awesome person on the planet and that alone made all the work worthwhile! I can’t wait to see what we face next year. Thanks for reading.

You’re so creative! You must have had a blast coming up with all those costumes! Congrats.
You’re so creative! You must have had a blast coming up with all those costumes! Congrats.