As a kid, my father would build us Halloween costumes/floats for the local parade and contest in our small town. As a child, I remember vividly, the cold night of the parade down main street each year, wearing or riding in whatever creative costume my Dad put together for us, and we usually did well in the contest.
Now, years later with a little guy of my own, I took over the family tradition. I have a habit of ‘overdoing’ things, so this might be beyond what general people want to do, but here is my tutorial. Generally, I used things laying around my garage, as I try not to throw out things that I know I could potentially use for quick projects like this, but there were some trips to Home Depot as well.
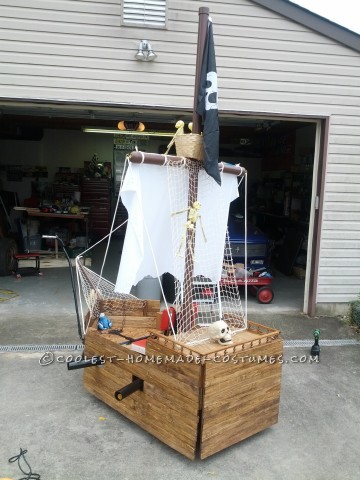
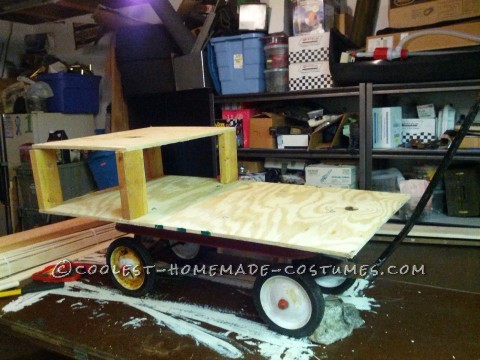
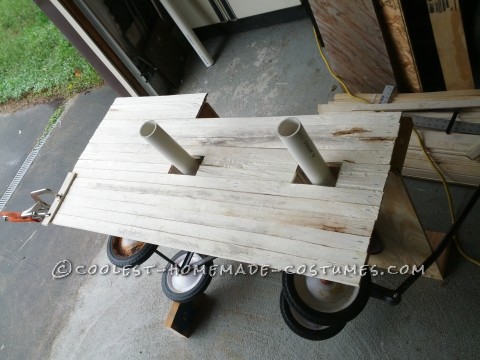
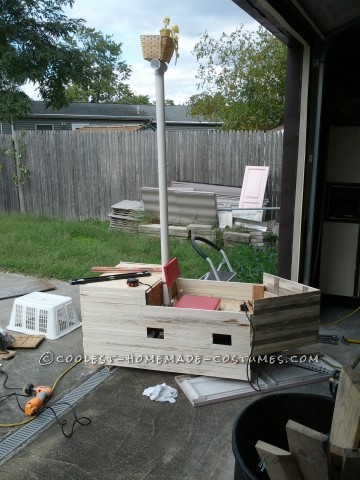
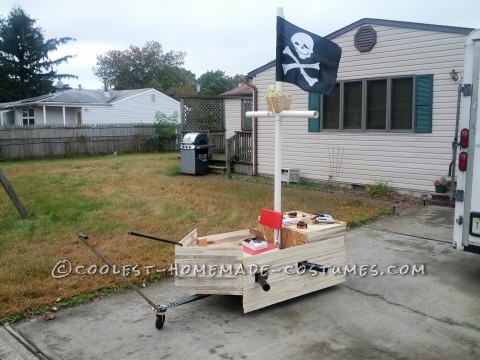
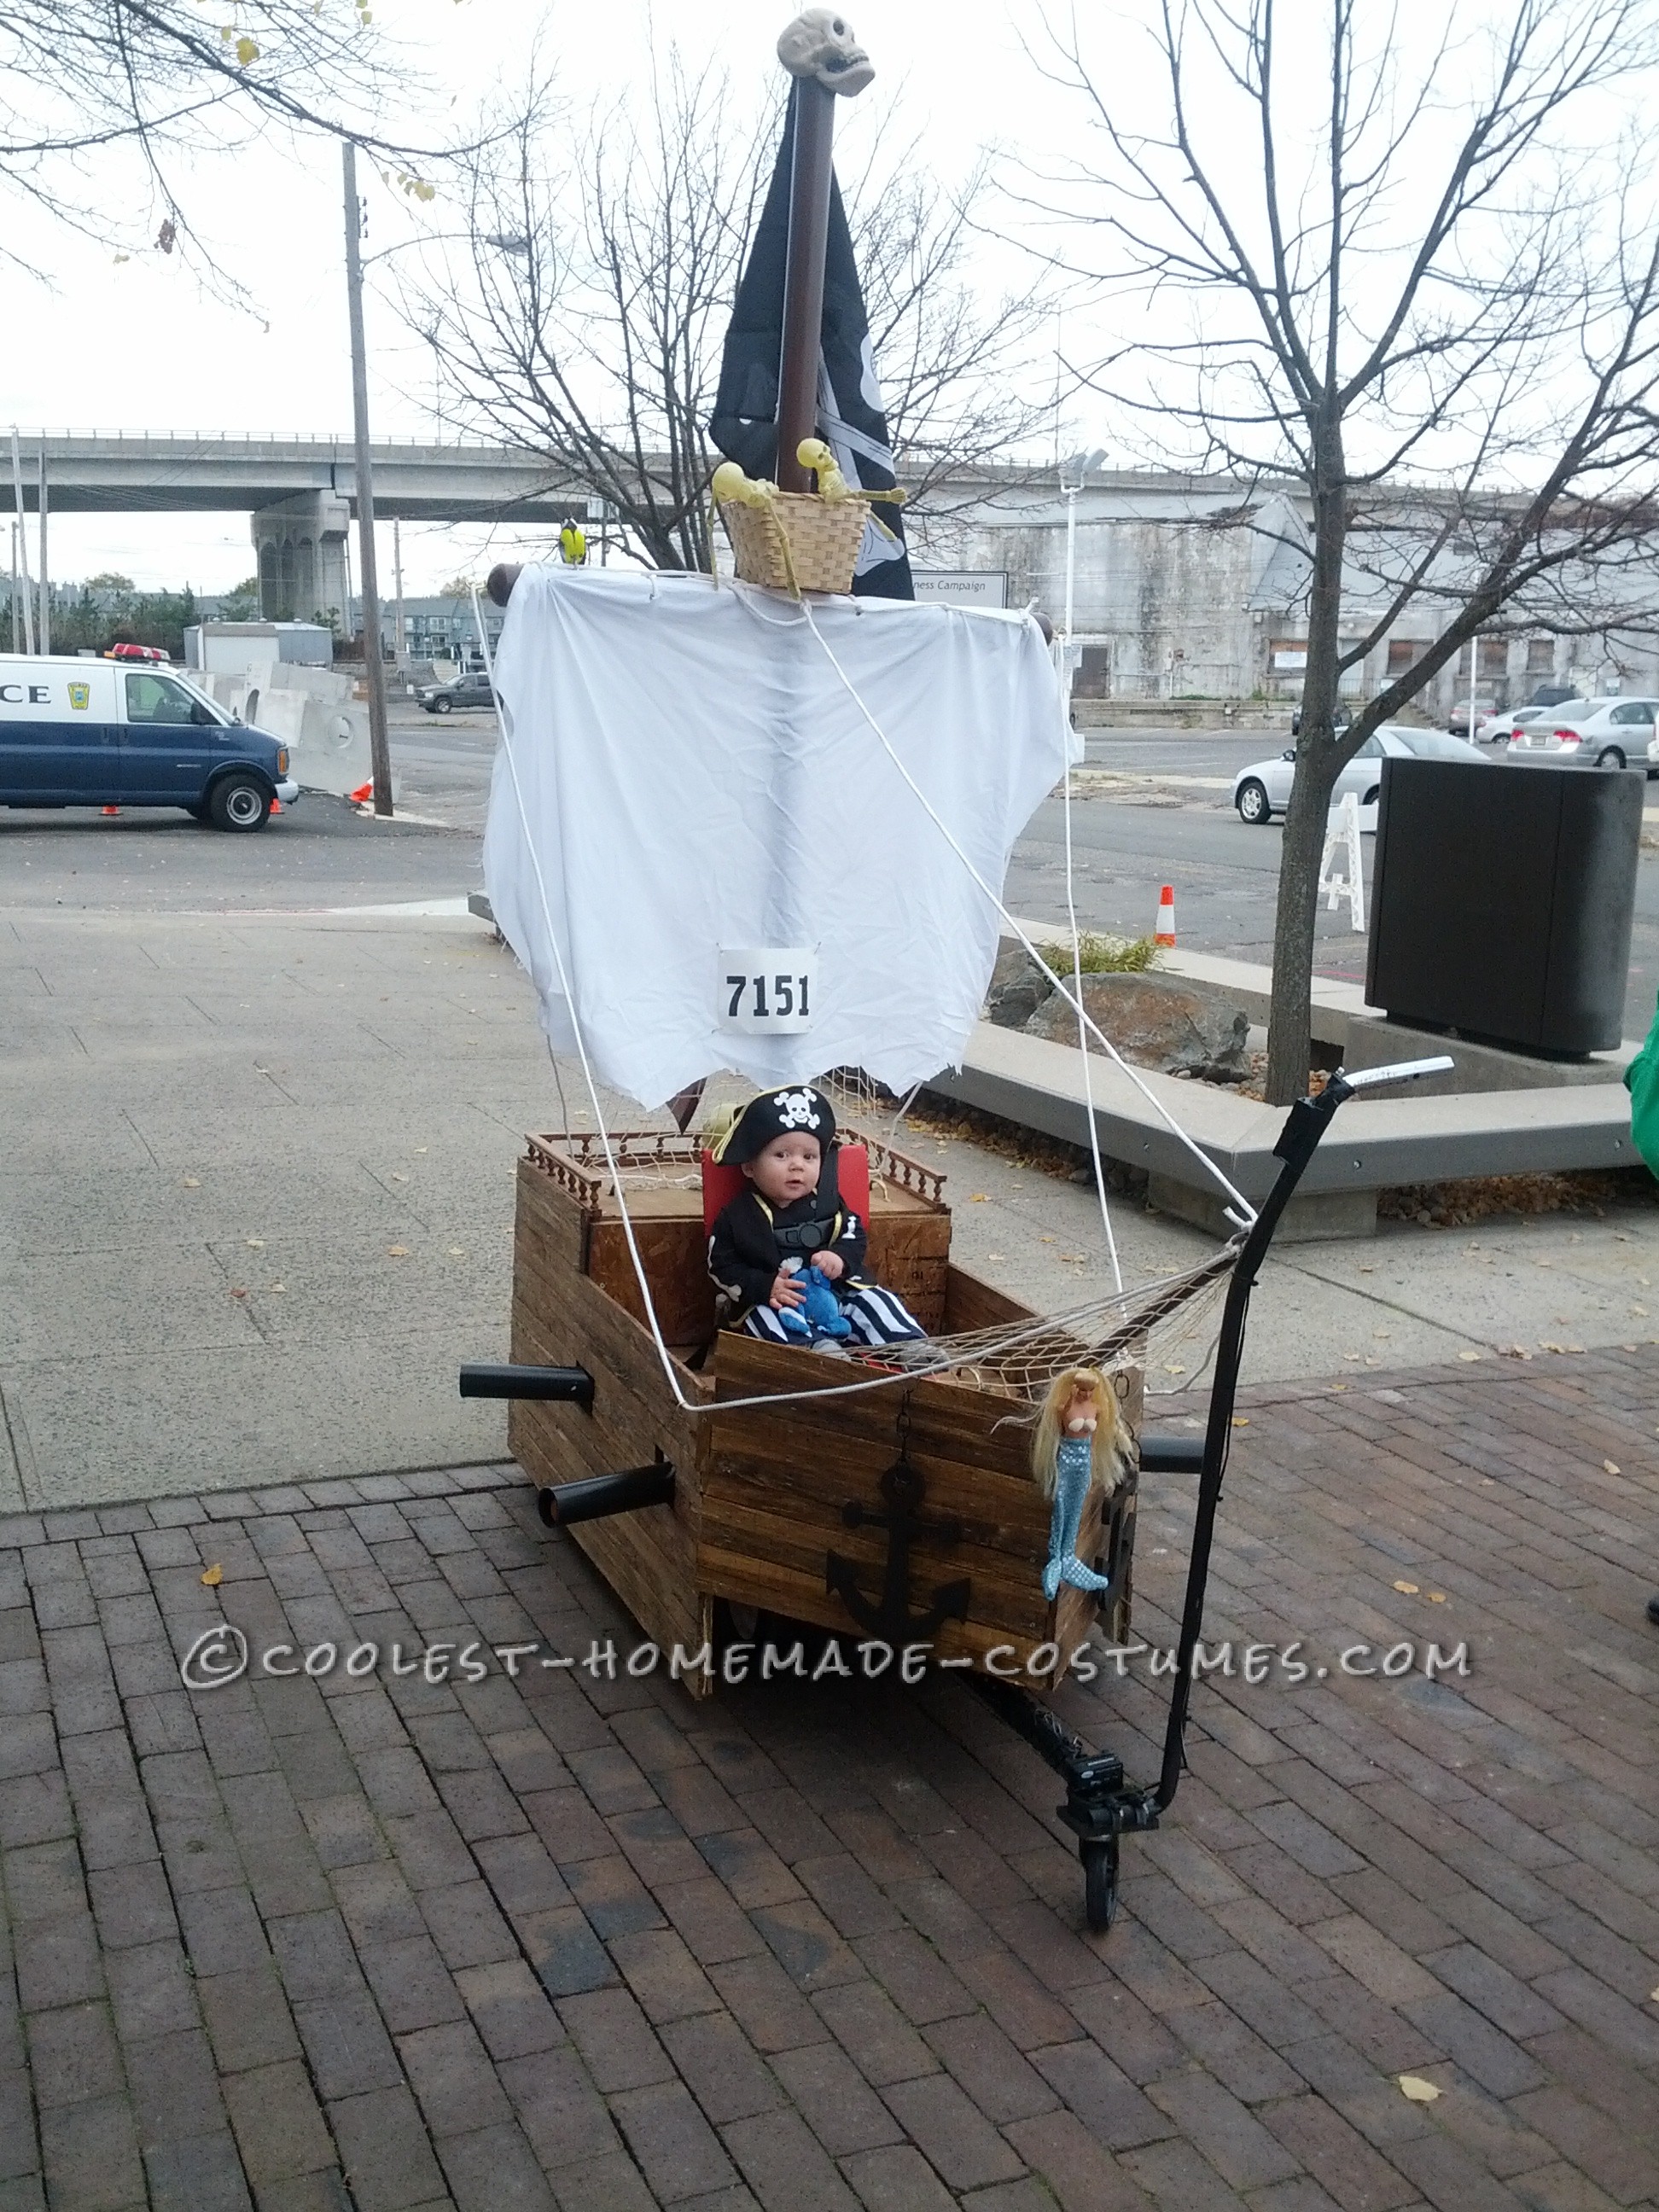
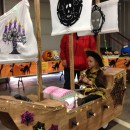
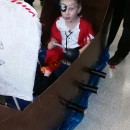
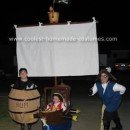
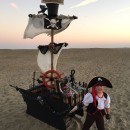
The first Halloween with my son (2012), he was eight months old. I wanted to make him a pirate ship, so I bought an old rusty red wagon at a garage sale for $5. A scrap piece of plywood was cut to shape and I bolted it to the lip of the wagon, as this was the base of the entire ship and what everything else was built off. From there, I built a second tier towards the back of the ship using small scraps of 2×4’s and again some more plywood to box it in. I wanted to keep with the wooden theme to give it that ‘real ship’ look, so I then took a few strips of lath and screwed them to the edges of the plywood vertically. From there, I cut more lath to the proper length and used wood glue and a staple gun to attach the horizontal strips. I cut around some openings on each side where my cannons would be mounted. Along the top of the back, I used some cabinet trim to edge out a railing. I made the rear section of wood separately, and attached it to the back of the ship using a couple of old door hinges and a simple gate latch. This provided me with a storage area for tools, and snacks for my son. Some stain was applied and it started really looking like a real ship. A hole saw cut a 3” hole into the center of the plywood base, and my mast made of 3” PVC pipe was dropped into place and secured with PVC hangers to the front of the back wall. An old sheet was cut up to make the mast, and a $1 store basket provided the crows nest. I ran a few eye hooks around the ship and used some white clothes line rope to make the rigging. An old broom handle was put out front and a Barbie was donated to be the mermaid on the front along with some netting. I bolted down an old stadium seat and screwed in an old car seat harness to keep my little tike secure on the rough seas. I made some cannons out of PVC pipe and screwed them to the underside of the plywood base and some battery operated flashing LED’s provided the look of the cannons firing. I scrounged up a couple wooden anchors and a ships wheel and they added an extra bit of realism. Obviously, everything was painted or stained during the process. I usually like to ‘mock it up’ first, then disassemble to paint, then carefully reassemble everything.
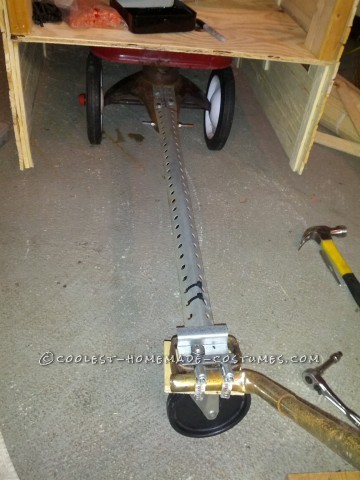
The challenging part was the handle. Because the front overhung the handle so much, I needed to come up with a solution. I used some angle iron and screwed it directly to the front axle flange on the top. It ran along the handle, then I attached a second wagon handle to that one using hose clamps. This provided the clearance I needed, but posed a problem of the handle intersection catching on the ground, so I attached an old swivel caster through the lower handle so it would roll along the ground.
My little pirate took first place in a couple parades, and was a hit wherever we took him.
It weighed about 40 pounds when finished, and was a challenge to load into my pickup truck, but well worth the results. Total spent was probably about $50.


Your comment has been sent successfully.