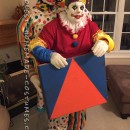
Halloween costume-making is truly a labor of love. And, as with all efforts of labor and matters of the heart, there invariably arises a bit of turmoil and chaos. I’m delighted to say the creator and designer survived the ups and downs in our efforts to create ZOMBIE FREERIDE. This costume was the brainchild of my youngest child, a 10 year-old, fifth grade boy. He and I worked together and had great fun working through prototypes to the end product.
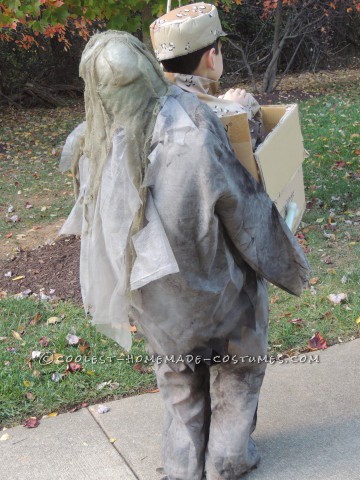
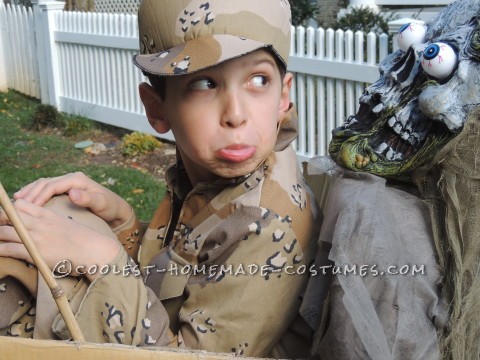
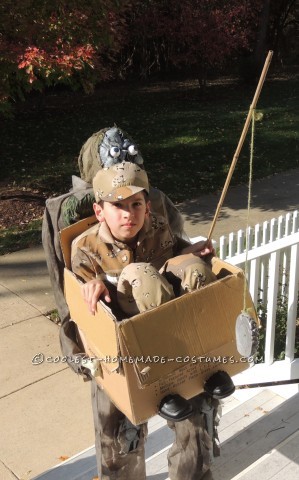
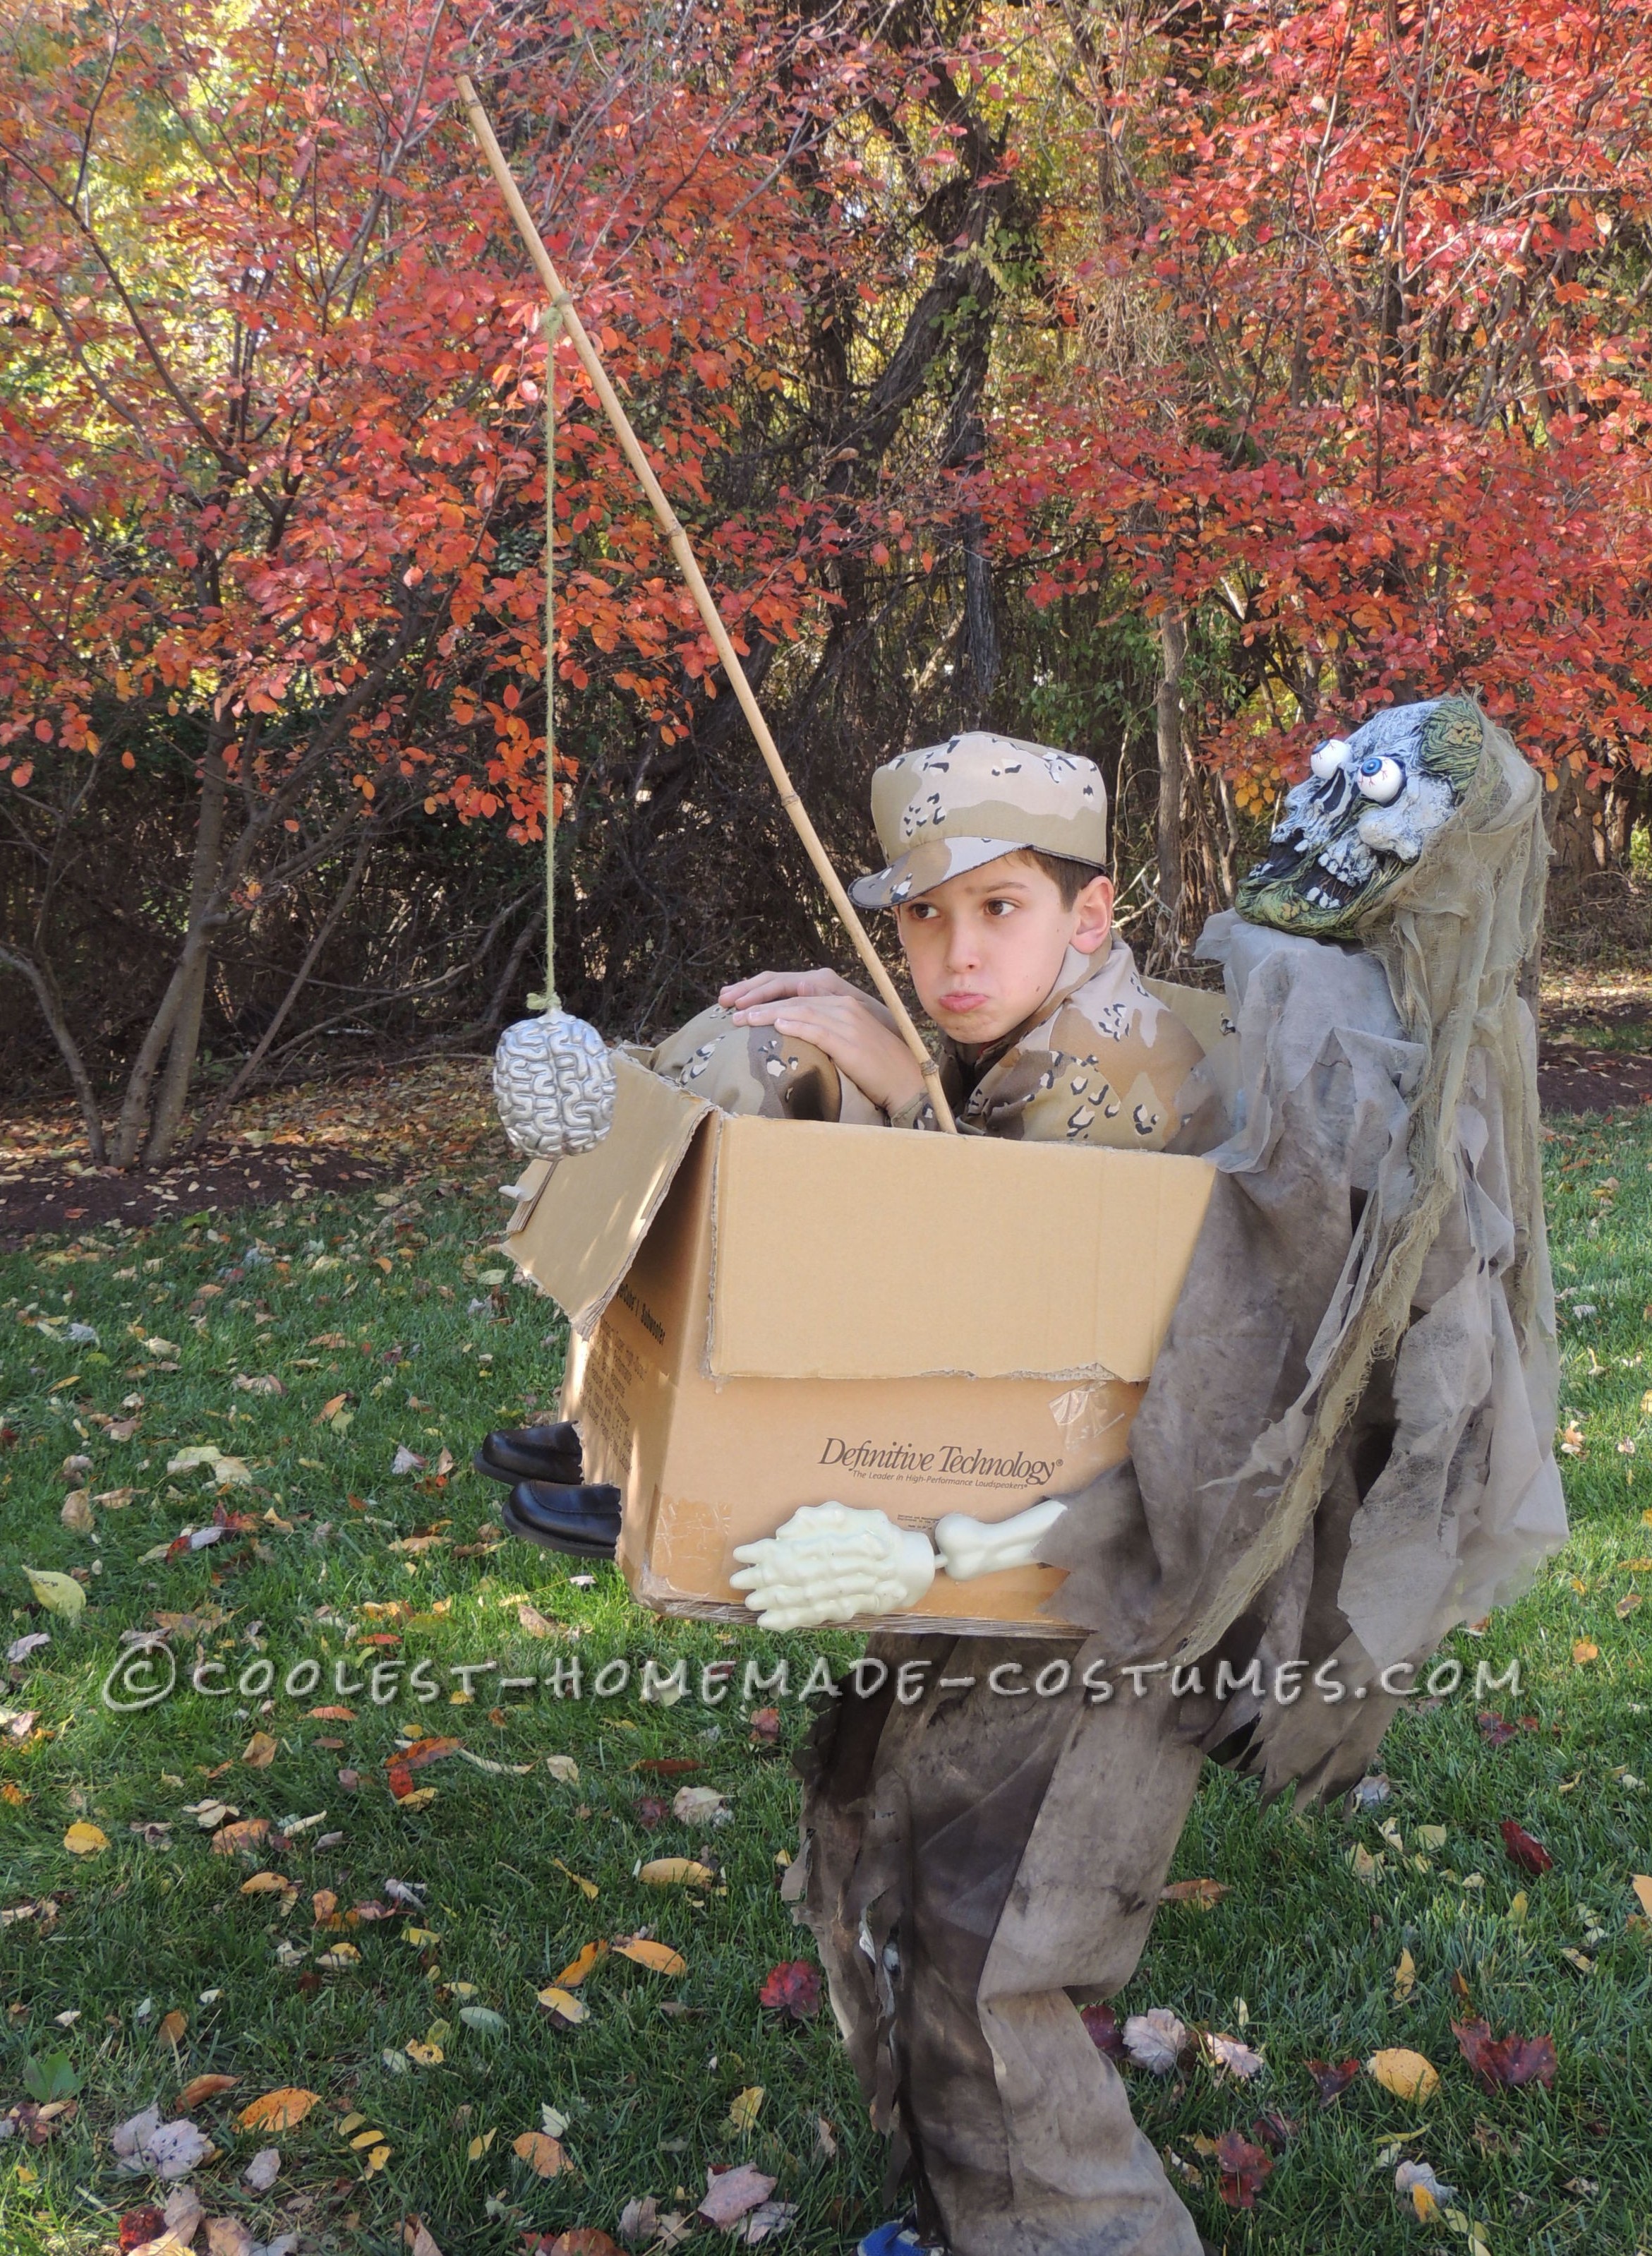
His vision was to create the illusion of being carried around in a box by ‘some creature’. In order to have it all work, we knew the ‘box carrier’ had to be lightweight. So, we started by searching for an adult costume that was lightweight enough to be attached and supported by a cardboard box. We found the Zombie costume and ran with it.
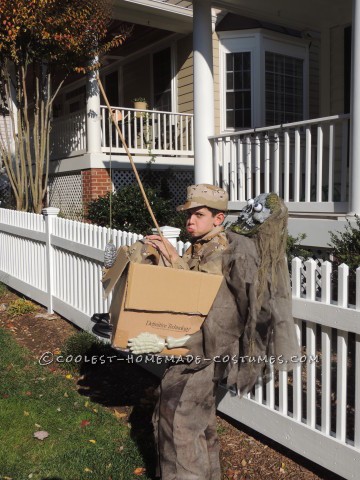
We had several thoughts on why a Zombie would carry around someone in a box….we thought of putting a sign on the front “captured behind zombie lines” or “zombie rides, 5 cents”. My son came up with the idea of something that would entice the Zombie – -and so we put a brain on a stick out in front of the box to entice our Zombie to ‘keep moving’.
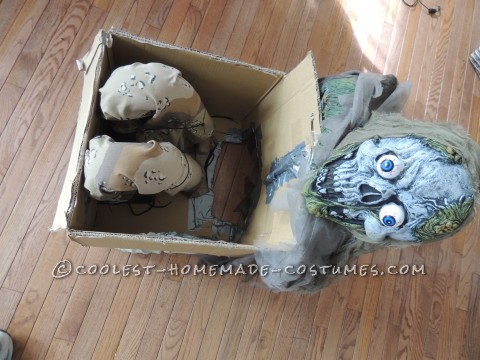
The easiest part of making the costume turned out to be what I predicted would be the hardest – – how to pull off the illusion of being carried in a box. We experimented with a box prototype until we found the right angle of the box. He steps in the box, pulls it up and the entire box rests on his hips. The angle cut in the box is just enough to give the illusion of the zombie straining under the weight of the load.
The remaining items were pulled from Halloween costume bits and pieces at home along with the camouflage-combat uniform costume borrowed from my nephew. The details of the rest of the the costume are fairly straightforward:
1. ‘Fake’ legs – swim noodles cut in half vertically, bent and held in place with zip ties and duct tape – – to give the illusion of bent knees just above the edge of the box.
2. Shoes, Brain on a stick, Zombie ‘hands’ – – all items we had around the house that were hot-glued or duct-taped in place.
3. Zombie Head – The head is stuffed with bubble wrap with a metal hanger inserted to the middle to act as a spine. The spine itself is attached to the box.
4. Zombie Upper Body – The upper body has foam pipe insulation tubes (the kind used to insulate copper water pipes) with wire hangers inserted along the full length. The pipes are then bent in a “U” shape to give the depth and shape for the Zombie’s body – from the curve of the shoulders down the back.
My son wore this costume in the school parade and received many rave reviews – – despite a last-minute costume malfunction. As he stepped out of the classroom to line up for the parade, the spine slipped from the costume – -the head remained attached, but tilted back at a 90 degree angle. The look was even creepier – so it worked!!
He also wore it on Halloween night. Our Halloween was rainy, but Zombies are undeterred by weather – so he lasted for the night. He was stopped for pictures many times, given two pieces of candy – one for him and one for the scary guy behind him and even had some people ask him how he managed to get someone to carry him around for the whole night.
The costume was as much fun to wear as it was to make!!



Your comment has been sent successfully.